Knowledge Base Article
How To Design Your Public Event Ticket Sales Form
Your public event form is the page attendees actually see when they register or buy a ticket. Argenta gives you two places to shape it: one set of defaults for every event, and a design page on each individual event.
Start With the Defaults
Go to Event Management > Public Event Form. This is Public Event Form Default Settings, and what you set here applies to your events generally, so you are not rebuilding the same look every time.
- Choose Form Colors: set the colors to match your branding
- Default Form Fields: choose which fields appear on the form by default
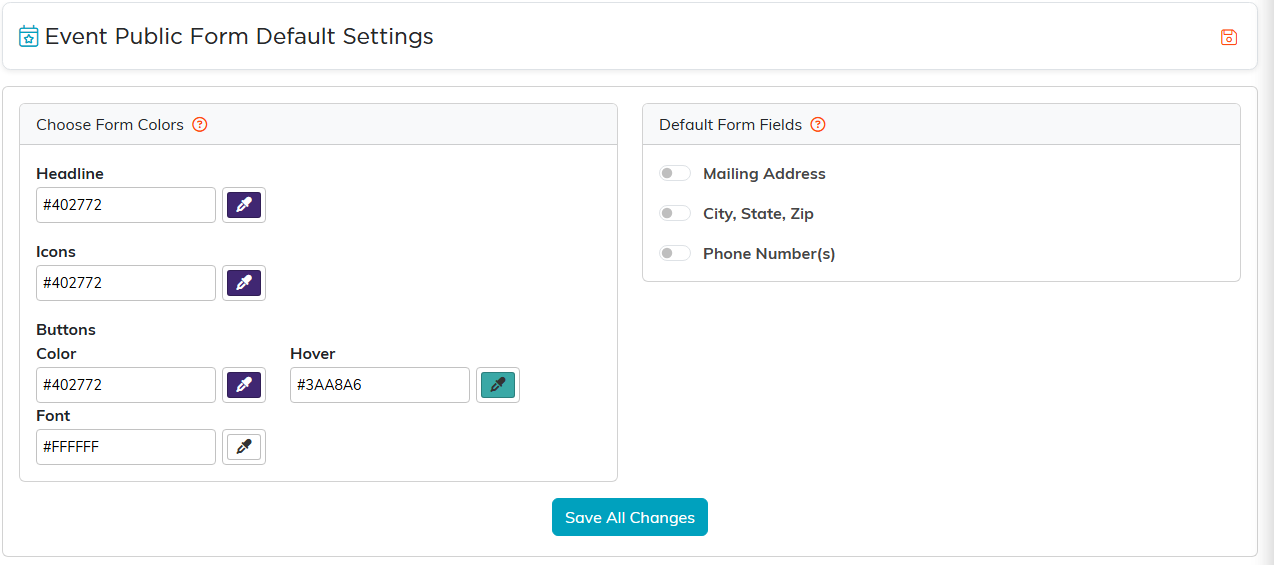
Set the colors and default fields once, for every event.
Save when you are done. Setting this up once, properly, is the highest value ten minutes in the whole area.
Then Design the Individual Event's Form
- Open the event from the Event List
- Click Public Form Design in the workspace navigation
- Adjust the Choose Form Colors and Form Fields for this event where it needs to differ from your defaults
- Set Notifications so the right staff are told when someone registers
- Add the description that appears on the form, in the collapsible description section

Each event can override the color defaults.

Turn on only the fields this event needs.

Notifications decide who hears about a registration.

The description section holds the words that appear on the form.
Preview Before You Publish
Click Preview to see the form the way an attendee will. Do this every time. It is the fastest way to catch a field you meant to turn off or a color combination that looked better in your head.
Use Save as you work, and Exit Workspace when you are finished.

Preview shows the form the way an attendee sees it.
Choosing Your Fields
Ask for what you genuinely need. Every extra field is another reason for someone to abandon the form halfway. Name and email are almost always required. Meal choice, sessions, or guest details only earn a place if you will actually use the answer.
After Someone Registers
Submissions flow into the event's Participants/Guests page, and ticket purchases into Event Ticket Sales. Attendees are matched to constituent records, so registrations build your CRM instead of sitting in a separate list.
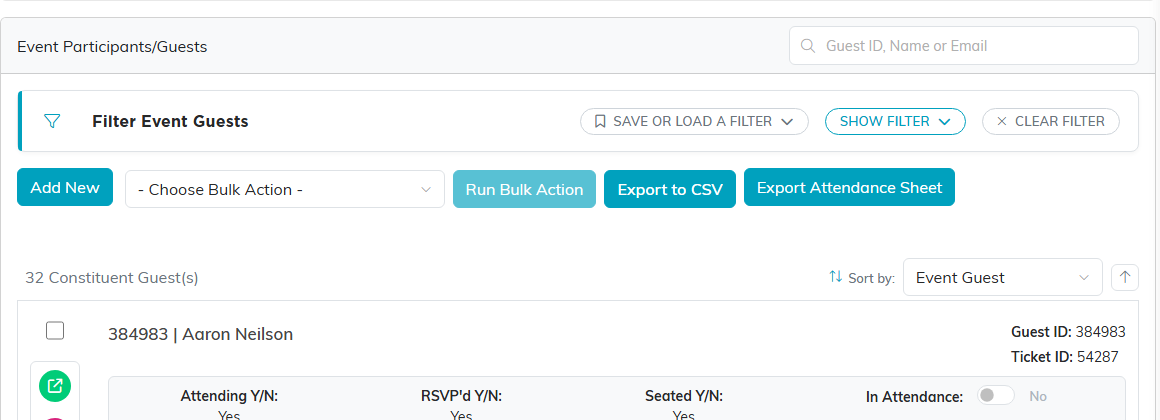
Registrations land on the event's Participants/Guests page.
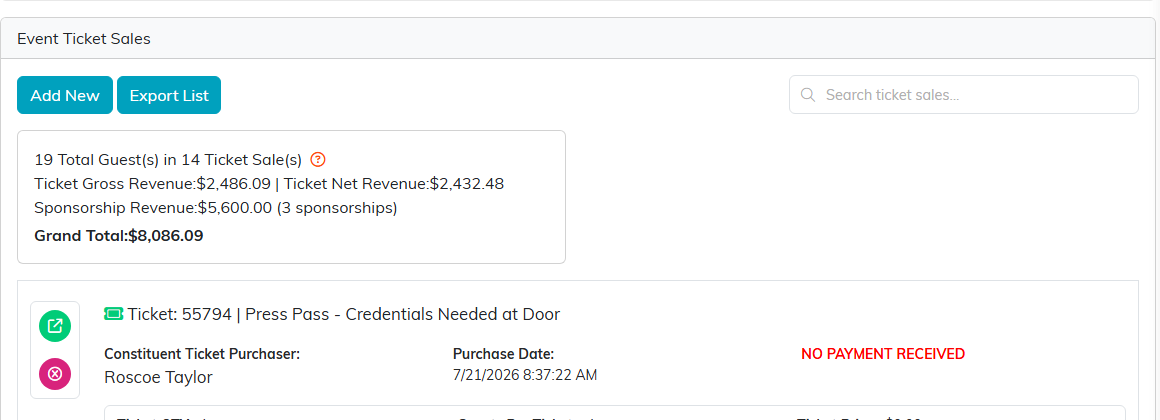
Ticket purchases land on Event Ticket Sales.
Before You Share the Link
- Preview the form one more time
- Submit a test registration yourself and confirm it appears under Participants/Guests
- Check that the notification email reached whoever is supposed to get it
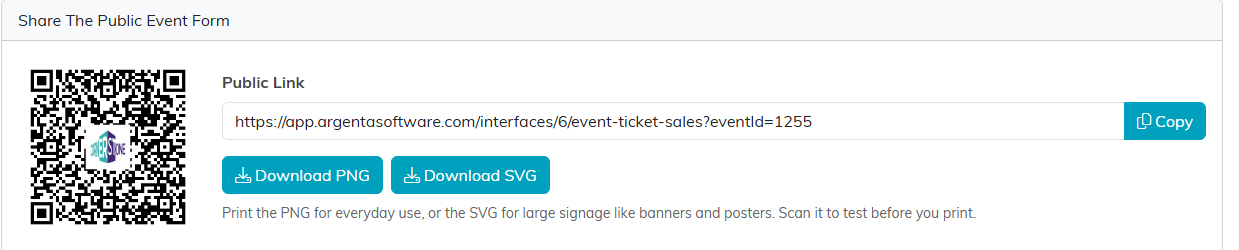
The public link and QR code live on Public Form Design.
