Knowledge Base Article
How To Manage Deposits in Argenta
A deposit in Argenta records money going into one of your bank accounts. Here is how to add one.
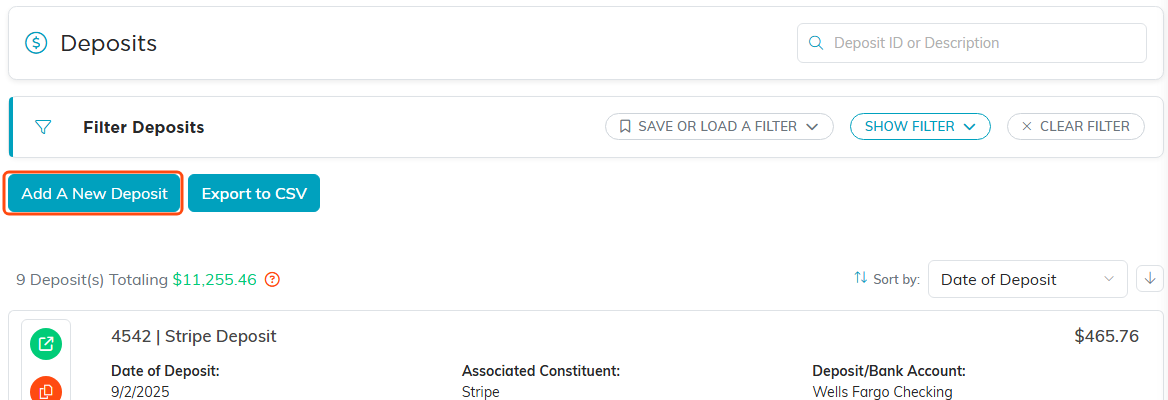
Step 1 and 2. The Deposits list, with Add A New Deposit above it.
- In the left sidebar, choose General Financials > Deposits.
- Click the Add A New Deposit button above the deposit list. A short form opens asking for the Fund, the Deposit/Bank Account, the Deposit Date and the Deposit Amount, which has to be more than zero. Fill those in and click Add & Enter Details, and Argenta creates the deposit and opens its workspace so you can enter the rest. Cancel & Exit leaves nothing behind.
- If the deposit is tied to a specific constituent, use the Associated Constituent lookup to find them. If they do not exist yet, click the add icon next to the lookup to create the constituent.
- Choose the Fund for the deposit (required).
- Choose the Deposit/Bank Account the money went into (required). A deposit in Argenta is money put into a bank account, so this always has to be set.
- Enter a short Deposit Description.
- Enter the Deposit Date (required).
- Enter the Deposit Amount (required).
- If there is a check or reference number, enter it in Check #/Reference #.
- Set the organization segments that apply: Chapter, Division, and Department. Political teams also have District and Precinct (pick the district first).
- To repeat this deposit on a schedule, turn on Deposit Is Recurring and pick a Recurrence Frequency.
- Click Save All Changes to save and keep working, or Save All & Exit Record to save and return to the list. You can also use Copy & Add New to save this one and start another like it.

All four are required, and the amount has to be more than zero.

Step 3. The orange plus beside the lookup creates a constituent who does not exist yet.

Steps 4 to 9. The orange asterisk marks the four required fields.

Step 10. District and Precinct appear here too on a political team.

Step 11. Recurrence Frequency stays greyed out until Deposit Is Recurring is on.

Step 12. Copy and Add New saves this deposit and starts another like it.
The deposit workspace has more tabs (like Transactions, Files, Notes, and Record Permissions) where you can take further action on the deposit after saving.

The tabs across the top of the deposit workspace.
