Knowledge Base Article
How To Customize Your Public Donation Form
Your public donation form is where online giving actually happens, so it is worth setting up carefully. Argenta gives you control over its wording, fields, colors, and banner, plus a way to share it.
Open the form designer
From the left-hand menu, choose Fundraising > Public Donation Form. You can also get there from the Design Public Form button on your Donations list. The designer has a Workspace Menu across the top with six sections you work through one at a time.

The six sections of the designer, worked through one at a time.
Form Content
Add a headline if you want one; it only appears if you enter text. Below it is a full editor for the body of the form, so you can explain what the gift supports. Keep it short. People arrive at a donation form ready to give, and long copy talks them out of it.
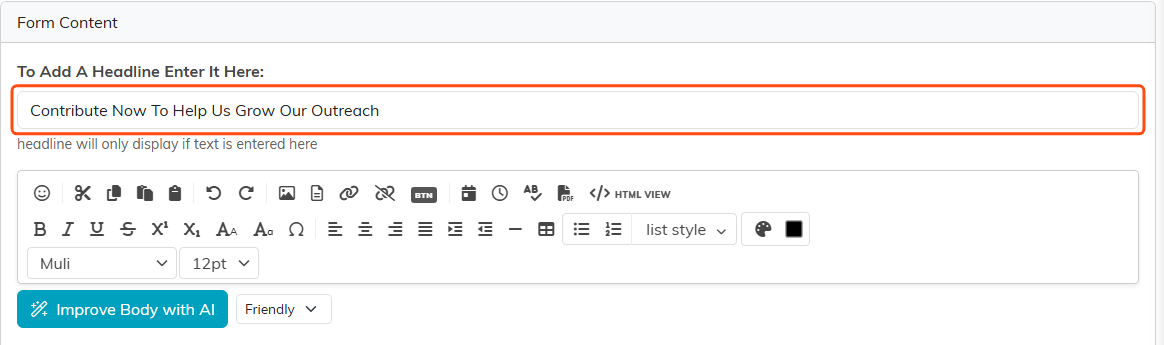
The headline box is highlighted. Leave it empty and no headline appears on the form at all.
Choose Form Fields
Turn individual fields on or off with a switch for each: Mailing Address, City, State, Zip, Phone Number(s), Tribute Section (so a donor can give in honor or memory of someone), and Solicited Section. Ask for a mailing address if you send year-end tax letters by post; if you do not, leave it off. Every extra field costs you completed donations.

One switch per field. Anything switched off simply does not appear on the form.
Giving Amounts
Set the six suggested amounts a donor sees as buttons. Leave one blank to keep whatever is there now, or enter 0 to hide that button. A donor can always type their own amount instead, so these are a starting point and not a limit. Watch the low end especially: if your smallest button is more than a first-time donor had in mind, you have made the easy choice the awkward one.

Six amount boxes. These are the buttons a donor taps, and 0 hides one.
Choose Form Colors
Match the form to your branding so the page feels like it belongs to your organization. You can set colors for the headline, the icons, the donation amount buttons (including their hover and font colors), and the main buttons. A donation form that looks nothing like your website makes people hesitate at exactly the wrong moment.
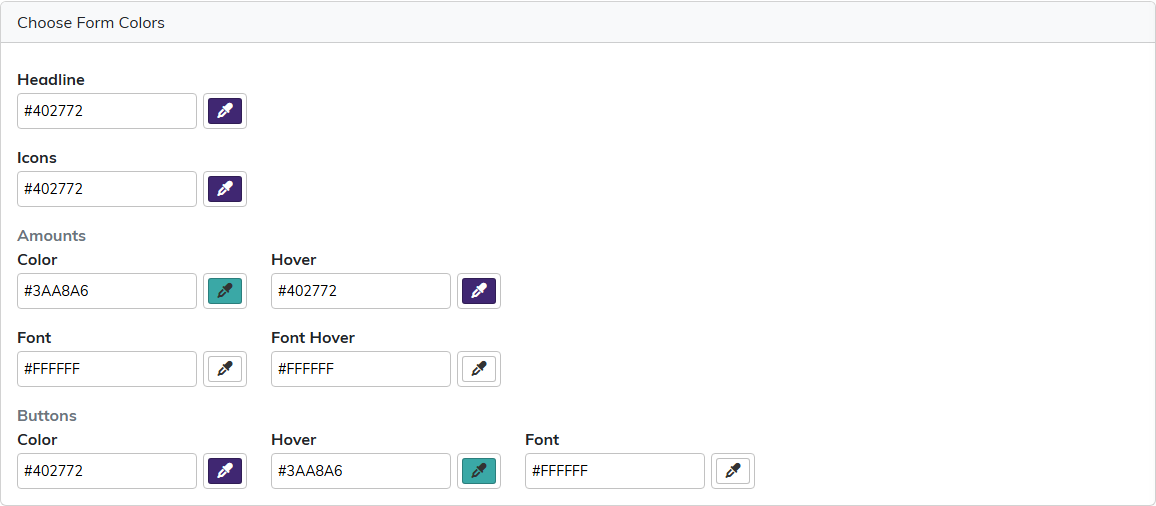
Each color has a picker and a hex box, so you can paste the exact colors from your website.
Form Banner Image
Turn on Display Hero Image and upload a banner for the top of the form (use Save As Banner Image, or Remove Banner Image to clear it). A real photo of the work you do outperforms a logo here.

The switch is highlighted. Turn it off and your banner stays saved but stops showing.
Share This Form
This section gives you a QR code you can download and put on printed materials, a slide, or a table sign at an event. You can also copy the form's web link from the Public Donation Form control on your Donations list.
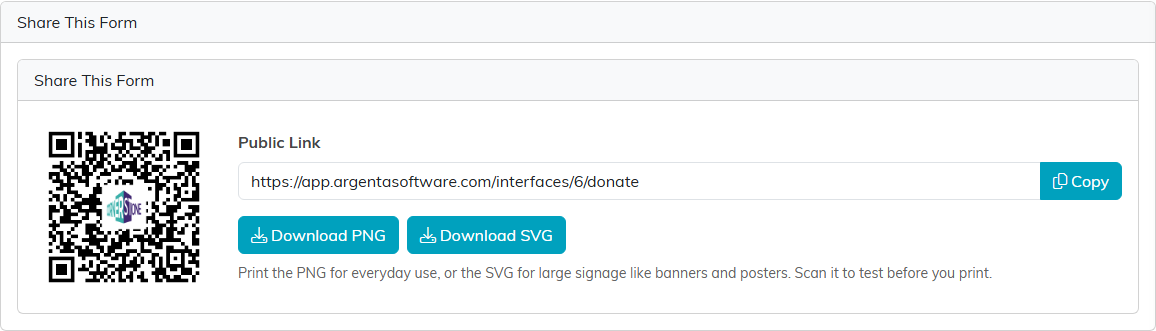
Download the PNG for a table sign, the SVG for anything large. Scan it yourself before it goes to print.
Preview and save
- Preview opens the form as a donor sees it. Always check this before sharing the link.
- Save Settings keeps your changes and leaves you on the page.
- Save & Exit saves and closes.

These sit at the foot of every section. Exit on its own does not save.
What the donor receives
When a gift goes through, Argenta emails the donor a receipt at the address they entered on the form. It carries your logo, your organization name, and your EIN when you have entered one, along with the donor's name, the date, the amount, the recurrence if they set up a monthly or annual gift, the tribute name if they gave in honor of someone, and the payment method.
Nonprofit organizations also get a Tax Deductibility note at the bottom of that receipt. It states that no goods or services were provided in return for the contribution, tells the donor to keep the receipt for their tax records, and adds that they should check with their own tax adviser about whether the gift is deductible. There is nothing to switch on. It is part of the receipt.
Organizations set up as political do not get that note, because a contribution to a political committee is not deductible.
Before you publish
- Preview the form and read it back as if you had never seen it.
- Make a small real donation to yourself and confirm it arrives, so you know the whole path works before donors use it. The thank-you screen shows the total actually charged to the card, so if you chose to cover the processing fee the confirmation matches your card statement, your Donations list and the receipt rather than showing the gift on its own.
- Check that the donation shows up under your Donations list and against the right fund.
- Open the form on a phone. Most people will.
