Knowledge Base Article
Add Material Recipients
A recipient is an individual, household, or organization that receives donated goods from you. Recipients are not a separate kind of record. They are constituents you have designated as recipients, the same way a constituent can be designated a donor or a volunteer, so everything you already know about that person stays in one place.
You need recipients set up before you can record a distribution, because the recipient field on a distribution only offers people who have been designated.
Designate a constituent as a recipient
- Choose Materials Management > Recipients from the main menu. Recipients also appears under Constituents.
- Click Add A New Recipient. That opens a page headed Designate A Constituent As A Recipient.
- Start typing the constituent's name and pick them from the list. If they are not in Argenta yet, use the add icon on the field to create the constituent first. For help with that, see Add Constituent - An Individual.
- Click Add Recipient & Enter Details. Argenta designates them and opens the Recipient Workspace.
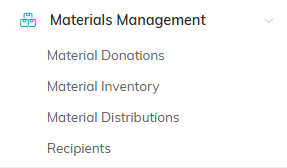
Recipients sits under Materials Management on the main menu.
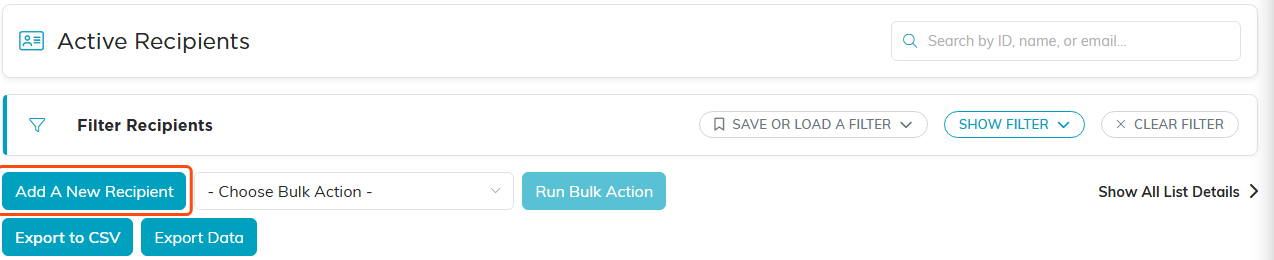
Add A New Recipient starts the designation.
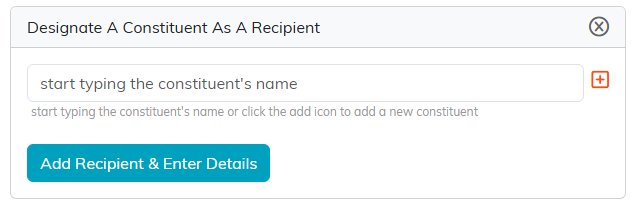
Type the constituent's name, then click Add Recipient & Enter Details.
Anyone who is already a recipient is left out of that search, so you cannot designate the same person twice. If you cannot find someone you expected, check the Recipients list first.
Fill in Recipient Details
Active Date is the only required field, and it starts on today's date. Everything else is there to help you group and report on the people you serve:
- Referred by Name (Text) for a plain name typed in. As the field itself notes, it is for reference only and will not show on reports.
- Referred by Constituent when the person who referred them is already in your system. Start typing to find them.
- Recipient Status, Recipient Type, and Recipient Category. All three are classification codes your team maintains, so the choices are your own. Use the add icon on the field to create a new one, or manage the whole list from Classification Codes in the main menu.
- Assigned To (Team Member) when someone on your team looks after this recipient.
- Acquisition Source for how you first came to serve them.
- Associated Campaign when they came in through a particular campaign.
- Chapter, Division, Department, District, and Precinct. Use these when the recipient belongs to one part of your organization, or to limit which team members can see the record. Choose the district before the precinct, since it determines the precinct list.
- Is Female Head of Household, a Yes or No choice that feeds your demographics reporting.
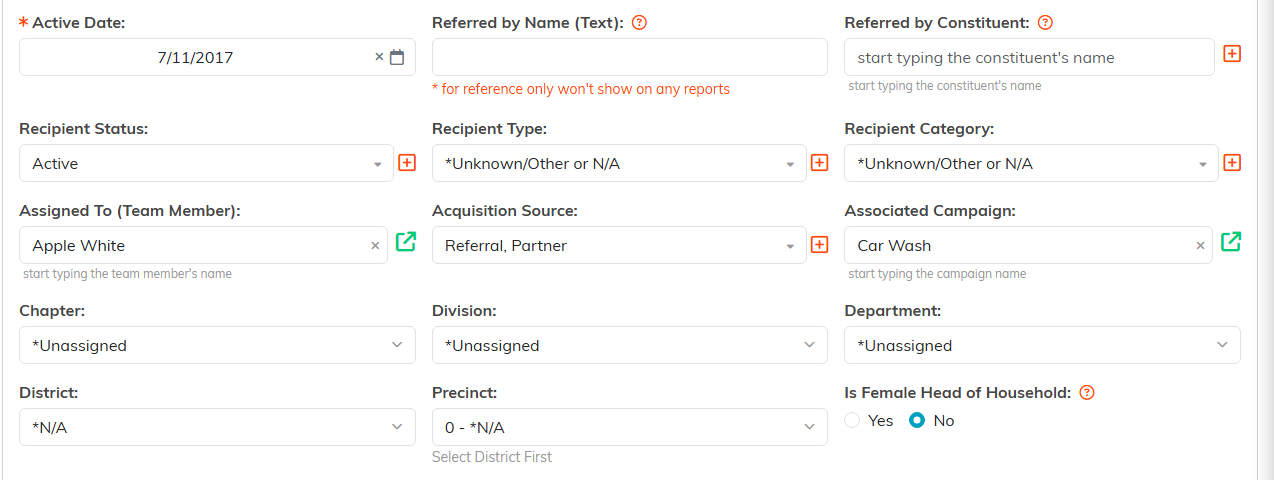
Active Date is the only field you have to complete.
At the top of the page, Set As View Only stops other team members editing this record and Lock This Record stops them opening it. The person who created the record, master admins, and anyone named on Record Permissions keep their access either way.

The two record-level switches sit at the top of the page.
Save with Save All Changes to stay put, or Save All & Exit Record to go back to the list. Delete This Record removes the designation, and there is also a delete icon in the workspace title bar.

The save row at the foot of Recipient Details.
The rest of the workspace
The Recipient Workspace has nine pages:
- Recipient Details, covered above.
- Material Distributions, every distribution you have made to this recipient. See Add Material Distributions.
- Follow-Up, for scheduling a follow-up with a team member, recording the Follow-Up Outcome afterwards, and setting a Notification Date & Time so a reminder email goes out. You can copy that reminder to a second address.
- Notifications, the notifications tied to this recipient.
- Contact Log, a running record of your contact with them. Click Add New, then fill in Contact Date, Team Member, and Contact Description, and click Save. Mark Contact As An Engagement? lets you log the contact and an engagement in one step. The save button stays disabled until you have written a description.
- Email Log, every email Argenta has sent this recipient, which you can open and read.
- Recipient Files for attachments such as intake paperwork. Save the record first. See Add Related Files.
- Recipient Notes for anything your team should know. See Add A Note to the Notes Section.
- Record Permissions, where you name the team members who can still edit or open a view-only or locked record. Start typing a user's name and click Add.

The workspace menu carries all nine pages.
Bring in a lot of recipients at once
If you are moving from another system or have a spreadsheet of the people you serve, use Import Recipients rather than adding them one at a time. Each row is matched to your constituents by the ID your old system used, by email, or by name and zip code. Anyone not found is created and designated a recipient, so every row imports.
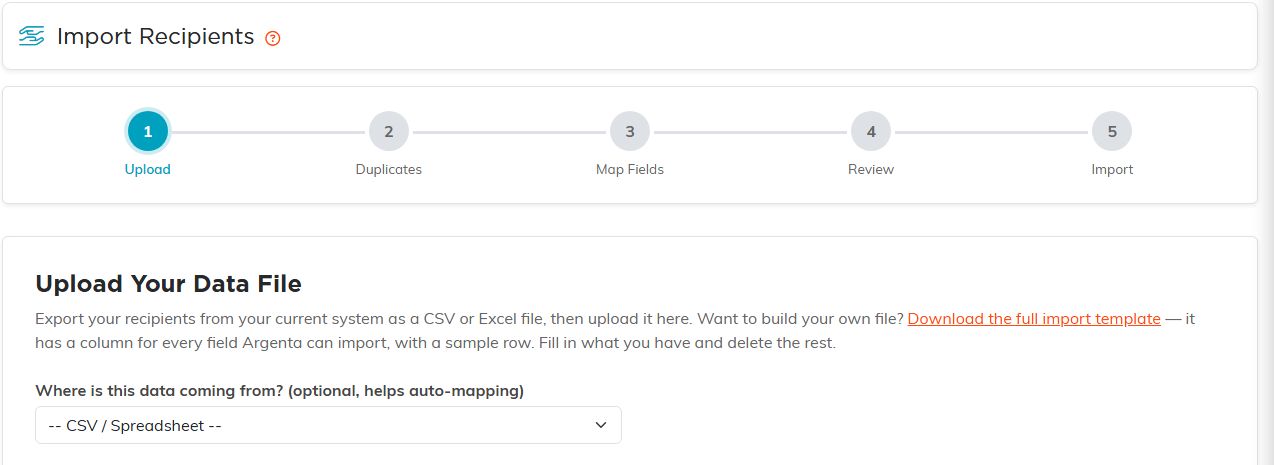
Import Recipients walks a spreadsheet through five steps.
Working with the list
The Recipients list searches by ID, name, or email, and exports to a spreadsheet. Each row has a green icon to open the recipient and a pink one to delete them.

Green opens the recipient, pink deletes them.
