Knowledge Base Article
Overview, Working with Fiscal Donations
Argenta's donation manager keeps every gift, every donor, and the accounting behind them in one place. Because it is fully integrated with your books, a donation you enter here can post to your general ledger in the same step. This overview shows you how to work with your fiscal donations list.
Find your donations
From the left-hand menu, choose Fundraising > Donations. This opens your full list of fiscal donations. At the top you will see the total number of donations along with the Gross and Net totals for whatever is currently displayed. Each row shows the donor, the date, and the gift's Gross, Fee, and Net amounts, plus the donation code, type, and category, the donor's category, type, and level, any chapter/division/department, the point of entry, whether a thank-you was sent, any related campaign, event, or program, and the fund and accounts if the gift is in your general ledger.
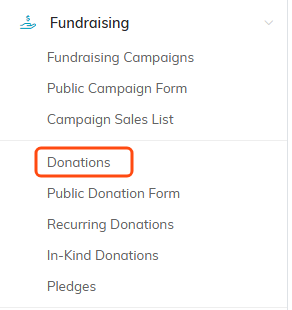
Donations sits under Fundraising in the left menu.

The count and the two totals follow whatever is on screen.
Search, filter, and sort
To find a specific gift, type an ID, donor name, or email into the search box. For a broader view, open the Filter panel and narrow the list by donor, campaign, event, donation code, type, or category, donor category, type, or level, whether the gift is in the general ledger, fund, deposit account, chapter/division/department, payment method, point of entry, whether a thank-you was sent, and a date or amount range. If you filter the same way often, save the filter to reuse it later. The totals at the top always follow your filter, which makes counting or summing a slice of your data quick. You can also sort the list by donation date, donor name, donation ID, or donation amount.
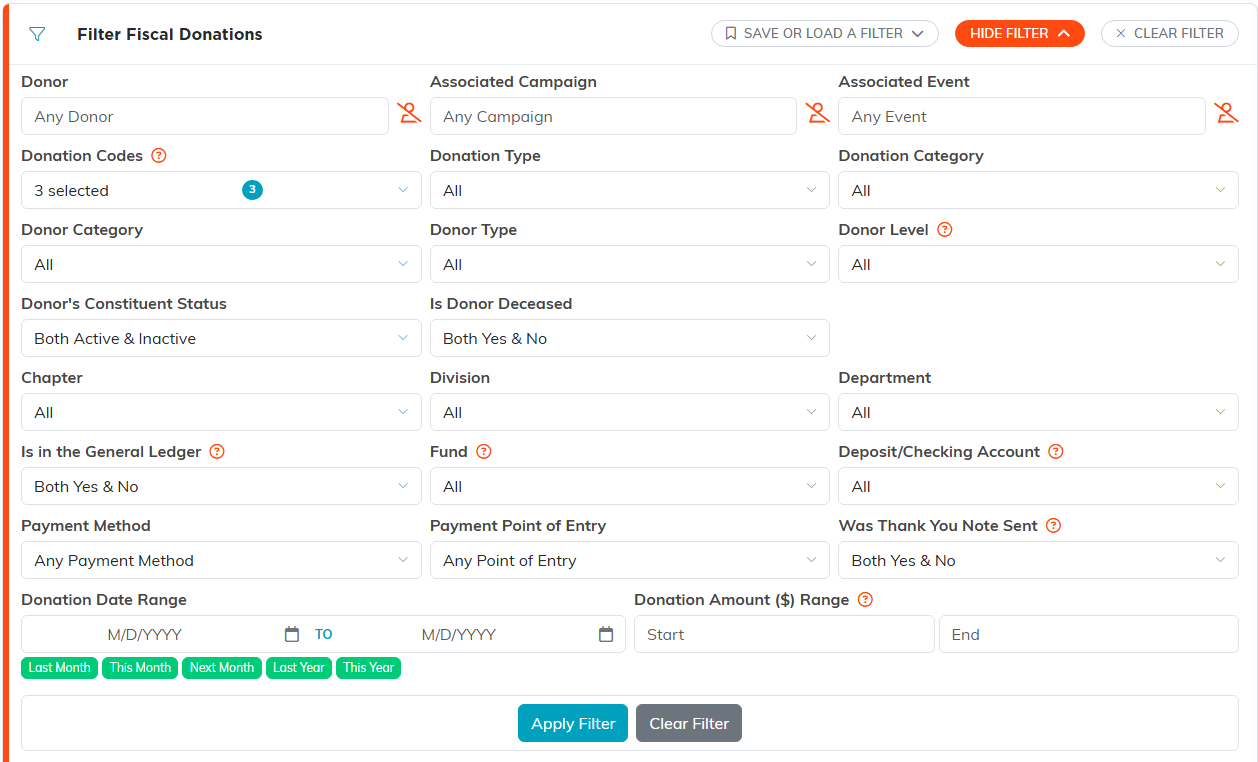
Show Filter opens the whole panel. Save or Load A Filter keeps one for next time.
Export the list
Click Export to CSV to download whatever is currently displayed. Filter the list first and only that filtered data exports, so you can shape the file before you download it.

Export to CSV downloads exactly what the filter left on screen.
Take action on many gifts at once
Use the checkboxes to pick records, or use the bulk-action menu to select an entire filtered set, then choose an action:
- Change Classification Code for Selected Records - Update the donation code, type, or category on many gifts at once.
- Mark Selected Records As Thank You Sent - Flag a batch as thanked.
- Change Related Event or Change Related Campaign for Selected Records - Tie a batch of gifts to an event or campaign.
- Create A New Mailroom List With Selected Records or Add Selected Records To An Existing Mailroom List - Build a mailing list straight from your donors.
- Delete All Selected & Unlocked Records - Remove a batch of gifts (locked records are skipped).
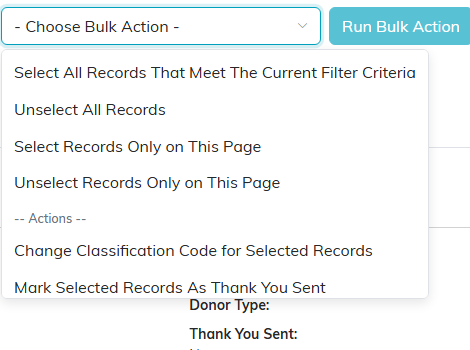
The top four entries pick records. The actions sit below them.
Share your public donation form
Every Argenta subscription comes with a branded public donation form that accepts gifts through Stripe. Use Design Public Form to customize it, then use the Public Donation Form control to open the form or copy its link so you can add it to your website, email it, or share it on social media.

Design Public Form on the left, the Public Donation Form link and copy control on the right.
Row actions
Select a donation in the list to reveal its quick actions:
- Open (green) - Opens the Fiscal Donation Workspace to view or edit the gift.
- Copy & Add New (orange) - Starts a new gift from a copy of this one.
- Delete (pink) - Removes the donation.

Green opens, orange copies into a new gift, pink deletes.
The Fiscal Donation Workspace
Opening a donation lands you in its workspace, which has six tabs:
- Donation Details - The heart of the record: the donor, date, amount, payment details, general-ledger posting, receipts, tribute info, and more. See Add Fiscal Donations for a field-by-field walkthrough.
- Connections - Link the gift to a related campaign, event, or program.
- Refunds - Issue and track full or partial refunds against the gift.
- Donation Files - Attach files, such as a copy of the check.
- Donation Notes - Keep notes on the gift.
- Record Permissions - Grant specific users view-only or locked-record access to this donation.
To add a brand-new gift from here, see Add Fiscal Donations.

The six tabs of the workspace.
