Knowledge Base Article
Add A Division
Divisions are the separate sectors or business units your organization is split into. Once a division exists you can tag constituents, events, tasks, funds, and other records with it, group your reporting by it, and use it to control which team members see which records.
Add a division
- In the top right corner of the screen, click your organization's name (the button with the building icon) to open the Team menu, then choose Divisions. That opens your full list of divisions.
- Click Add A New Division. Argenta creates the division and opens it in the Division Workspace.
- On Division Details, enter the Division Name. It is the only required field.
- Set a Division Leader if the division has one. Start typing a team member's name and pick them from the list.
- Click Save All Changes to keep working, or Save All & Exit Record to save and return to the list. Exit Record leaves without saving.
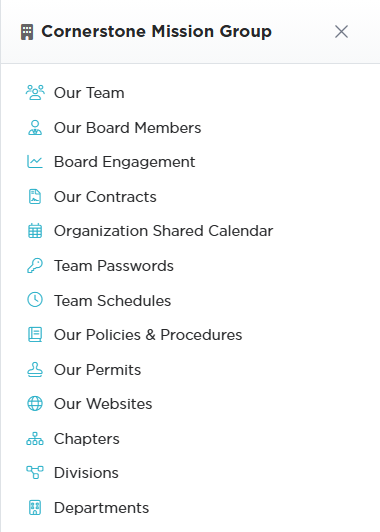
The Team menu opens from your organization's name in the top right.

Add A New Division creates the record straight away.

Division Name is the only required field.

Exit Record leaves without saving.
The Division Workspace
The workspace has four pages:

Four pages, with Division Details open.
- Division Details, the name and leader above, plus the two record-level switches. Set As View Only stops other team members editing this division and Lock This Record stops them opening it. In both cases the person who created it, master admins, and anyone named on Record Permissions keep their access.
- Division Files for documents you want to keep with the division. Save the record first. See Add Related Files.
- Division Notes for anything your team should know. See Add A Note to the Notes Section.
- Record Permissions, with a panel for each switch. Under View Only Access, name the people who can still edit a view-only division; under Locked Record Access, name the people who can still open a locked one. Start typing a user's name, select them, and click Add. The pink remove icon takes someone back off.

One panel per switch. Each shows Disabled until you turn the switch on.
Working with the list
Search the list by ID, division name, or leader name. Each row has a green icon to open the division and a pink one to delete it, and you can export the list to a spreadsheet.
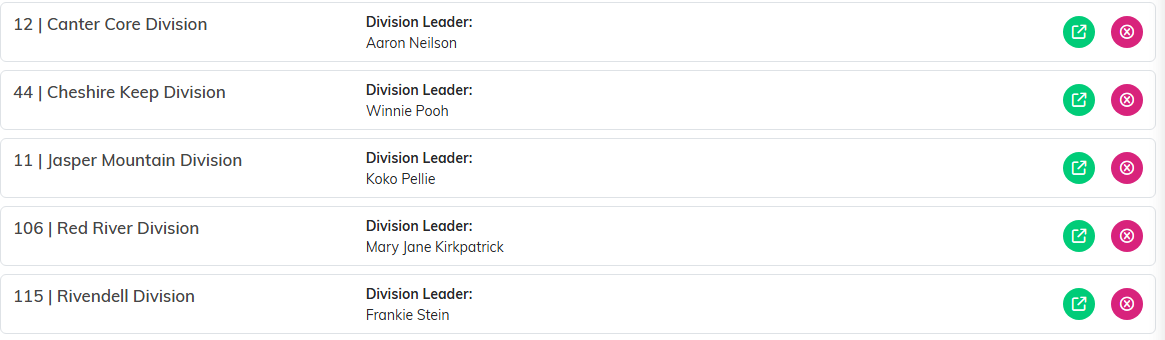
Green opens the division. Pink deletes it.
Divisions sit alongside chapters and departments as the three ways to group your organization. See Add A Chapter and Add A Department.
