Knowledge Base Article
Add Documents in the Document Library
The Document Library is the collection of documents your whole organization uses: templates, forms, policies, anything you want to share or archive in one findable place.
Add a document
- Choose Workflow & Productivity > Document Library from the main menu. Everything you have stored is listed there.
- Click Add A New Document. That opens the Document Workspace on Document Details.
- Enter the Document Title. It is the only required field, and it is what people search on, so make it something a colleague would actually type.
- Add a Document Category and a Document Description. The category is one of your own classification codes; use the add icon on the field to create a new one.
- Upload the file itself under Upload The Document Here. Drag it onto the box marked Drag & Drop Your File Here, or click to browse. Once a file is attached, the box invites you to click or drag to replace it.
- Set Chapter, Division, and Department if the document belongs to one part of your organization, plus District and Precinct for political organizations.
- Click Save Changes & Exit. Cancel & Exit leaves without saving.
The library takes images (png, jpg, gif), PDFs, Word, Excel, text, CSV, RTF, and zip files.
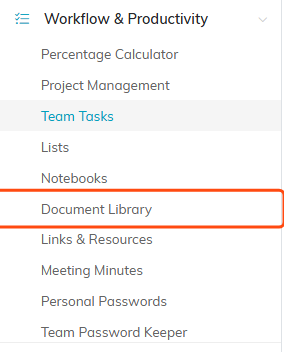
Document Library sits under Workflow & Productivity in the main menu.

Add A New Document opens a fresh Document Workspace.
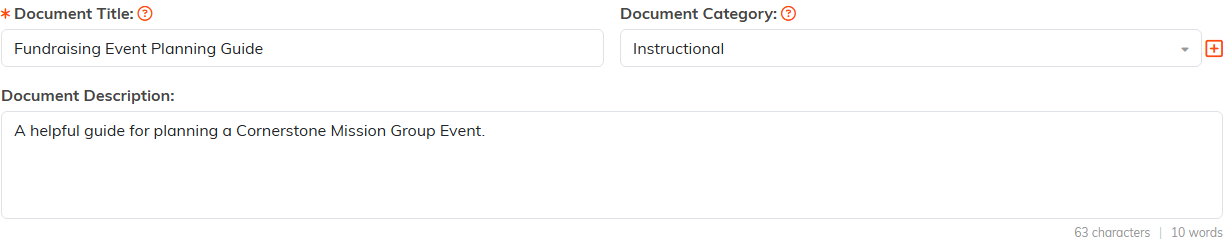
Only the title is required. The plus icon beside Category adds a new classification code.

Drop the file on the box or click it to browse. The attached file is named underneath.

Set these when the document belongs to one part of your organization.

Save Changes & Exit stores the document. Cancel & Exit leaves without saving.
The workspace
The Document Workspace has three pages:
- Document Details, everything above, plus a Download Document button once a file is attached.
- Share This File, where you turn one document into a link anyone can open, with a QR code to go with it. The library itself is only visible to people signed in to your team, so this is how you deliberately let one file out.
- Record Permissions, where you name the people who can still edit or open the document when you have restricted it.
The two switches at the top of the details page are Set As View Only, which lets the team read the document without changing the record, and Lock This Record, which keeps them out of it. The person who created it, master admins, and anyone named on Record Permissions keep their access either way.

The Document Workspace menu.

Both switches sit at the top of the details page.
Finding documents later
Search the library by ID or document name. You can also filter by category, chapter, division, department, district or precinct, and by a Date Posted Range, and export the list to a spreadsheet.
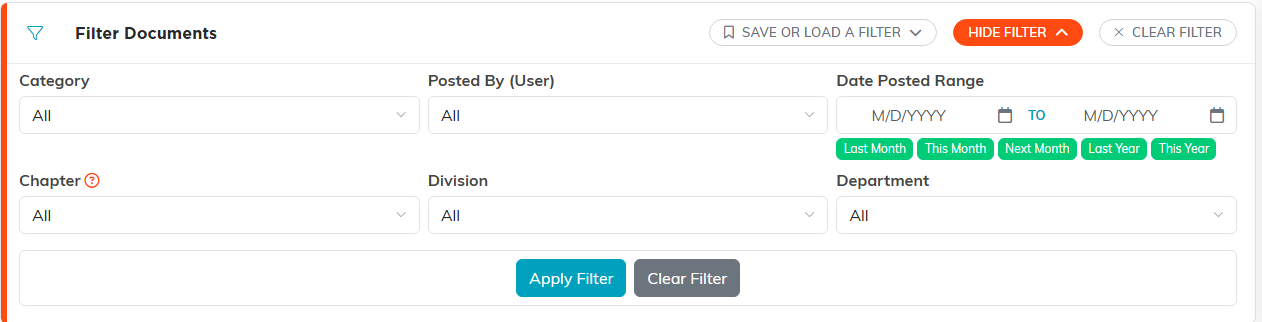
Show Filter opens the full set, including the Date Posted Range.
Categories are what make a growing library usable, so agree on a handful and stick to them. See How to Organize Documents by Category.
For a file that belongs to one particular record rather than to the organization, attach it to that record instead. See Add Related Files.
