Knowledge Base Article
Overview, How to Manage Your Subscription Settings
Subscription Settings is the admin corner of Argenta. Your organization's details, your users, your notification email addresses, your payment history, and the connections to your other software all live here. This article walks the whole workspace so you know which page holds what.
How to get there
- Click Settings (the gear icon in the top right of Argenta).
- Choose Subscription.
The same dropdown has shortcuts straight to Email Settings, Billing & Payments, and System Users if you already know where you are headed.
You need to be a Subscription Admin or a Master Admin to open any of it. If you do not see the Settings gear, you do not have one of those roles, and someone who does will need to make the change for you.
Moving between the pages
Once you are inside, a row of icons across the top is your navigation: Subscription, Email Settings, Users, User Roles, Our Dashboard Message, Payments, eCommerce Settings, Lead Scoring, Webhooks, API Keys, and Terms & Conditions. Clicking an icon saves the page you are on before it moves you, so you will not silently lose an edit.

Every page of your settings is on this one row. It stays with you as you move between them.
Subscription
Your organization's record. Some of it you can change, some of it we maintain.
Read only, shown for reference:
- Account Number. Your account number with Argenta. Handy to have when you contact support.
- Team Name. The name your Argenta site is set up under. Ask support if this needs to change.
- Subscription Start Date. The day your subscription began.
- Number of Records. How many records you currently hold.
- Monthly Fee. What you pay each month. This is the number to check any time you are wondering what your subscription costs.
You can change:
- Designated Subscriber. Required. The person we treat as your main contact for anything subscription related. Start typing a name to find a constituent, or use the add icon on the field to create one.
- Subscription Type. Pick a different option and save to request a plan change. It records your choice and sends the request to the Argenta team, who confirm it and adjust your billing. Your plan also sets how many users you can create.
- Organization's EIN and Registration #. Your tax ID, and the state registration number if your state requires one.
- Organization Name, Phone, Address, City, State, Postal Code. Use your legal name and address, because these print on the invoices, letters, and forms Argenta generates for you.
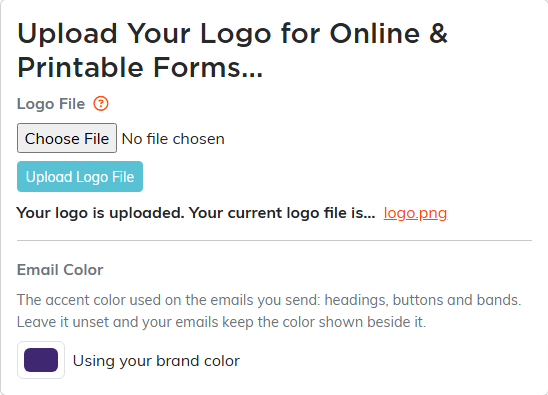
Logo and signature. The two cards on the right upload the images Argenta uses on your online and printed forms. Choose a file, then click Upload Logo File or Upload Signature File. Once one is uploaded, the file name shows underneath as a link so you can check you got the right one.
Email color. The accent color Argenta puts on the headings, buttons and bands of the emails you send. Pick one with the color square and it is saved straight away, with the hex code shown beside it. Leave it unset and the label beside the square tells you what your emails are going out in instead: Using your brand color when your organization already has one set up, or Using Argenta's color when it does not. Use Argenta's clears a color you picked. This setting covers email only, so your public forms and pages keep the colors set for them elsewhere.
The buttons at the bottom: Save All Changes saves the page, Submit A Support Request takes you to the Help Center, and Cancel Your Subscription starts the cancellation flow. There is also a small save icon in the title bar that saves without the confirmation popup.
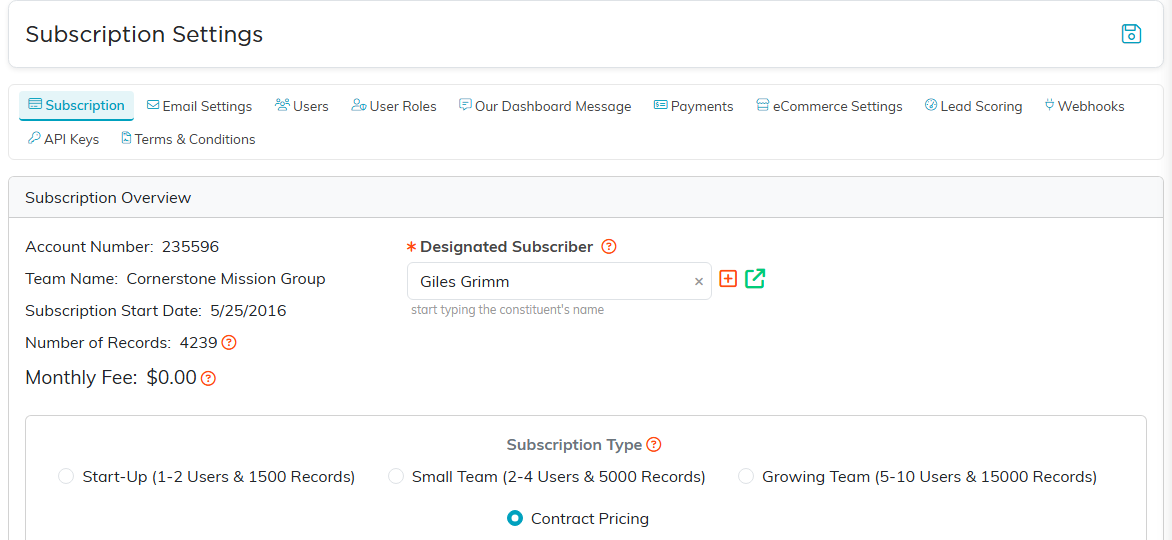
Your record count sits right above the plan choices, which is what you check before changing tier.
Email Settings
Three pages behind one icon, with their own row of links across the top.
Designated Email Addresses. Twelve addresses that control where Argenta sends notifications, and which address your outgoing email appears to come from. Primary Email Address is the default for everything, and the other eleven cover Client/Customer, Donation, Event, Financial, Marketing, Membership, Program, Project/Task, Staff & HR, Volunteer, and Voter notifications. All twelve are required and must be valid email addresses, so the page will stop you saving a typo. Click Save All Changes when you are done.
Email Address Verification. Argenta sends your email through Amazon Web Services, which requires each sending address to be verified first. Enter an address in Email Address To Validate, click Validate, and the owner of that address clicks the link in the verification email. You can verify up to four addresses as part of your subscription. Beyond that, validation blocks are available at $25 per month for a batch of up to 50 addresses. Anything submitted but not yet clicked sits under Pending Verifications, where you can resend or remove it.
Dedicated Sending Domain Settings. Use this if you want your email to come from your own domain rather than appearing to come from Argenta. Enter your domain (for example mydomain.org) and click Generate DNS Records. Then add those records at your DNS provider, which is a step you complete outside Argenta. If you need a hand, raise a ticket in the Help Center.
More detail: How To Setup and Send Email in Argenta Using Amazon Simple Email Service and How to Verify Your Email Domain for Better Deliverability.
Users
Every account that can sign in to your Argenta. The header shows your Total Users and Total Active Subscription Users, so you can see at a glance how close you are to your plan's limit.
- Search by ID, name, or email, and filter by Active Users, Inactive Users, or All Users.
- Add New creates a user. If the button is disabled you have hit your plan's user limit, so change your subscription type or deactivate someone first.
- Export to CSV downloads the list you are looking at.
- Each row has icons to Open the user, Unlock an account someone has locked themselves out of, Make Inactive, and Delete User.
Opening a user gives you their Status, User's ID, and User's Password (with icons to reveal and copy it, so you can read it back to someone who has forgotten it), then the permission switches: Subscription Admin, Master Admin, Master Builder, View Only Access, Report Manager, and Can Export Lists To Excel. Below those you can restrict a user by chapter, division, department, or district precinct, and set their module and dashboard permissions. Master Admins always have full access, so those sections are locked for them. Finish with Save All Changes & Continue or Save All Changes & Exit.
User Roles
Rather than setting the same permissions one user at a time, build a role once and apply it. See What are User Roles and Permissions in Argenta?.
Our Dashboard Message
An announcement that appears on every user's dashboard. Type it in the editor and format it the way you would in a word processor, then click Save All Changes. Clear Message removes it. With no message saved, the dashboard simply does not show the section.
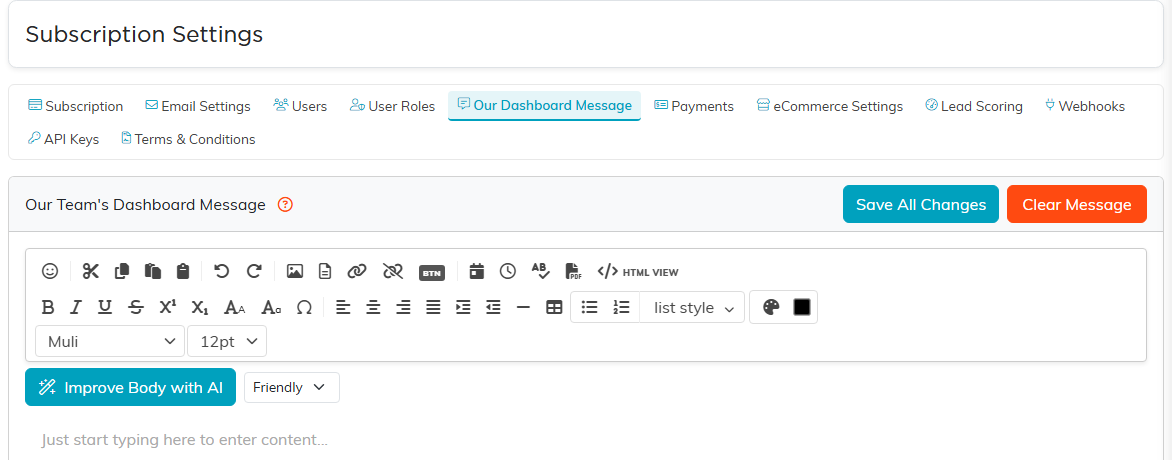
Whatever you put here greets your staff on their dashboard. Clear Message takes it straight back down.
Payments
Your subscription payment history, with a running count and total. Each row shows the payment due date, payment date, subscription type, and billing method, and carries a download icon for that payment's receipt.
Pay Subscription Fee opens the Argenta payment form in a new tab. It is both how you pay and how you put a card on file, because the card you use is saved for future automatic charges. Full walkthrough: How To Make Your First Argenta Payment.
eCommerce Settings
Where you connect Stripe so you can take money from your own supporters through Argenta: donations, event registrations, memberships, invoices, and the rest. Click Connect Your Account With Stripe and follow the prompts. The page lists the current transaction rates, which are 3.2% for 501(c)(3) organizations and 3.9% for everyone else, with American Express at a flat 4.5%.
If your account is already connected the page tells you so, and there is nothing more to do here. Setup detail: How To Setup Your Stripe Connection. For where the money actually shows up, see Stripe Payouts, How They Work and Where to Find Them in Argenta.
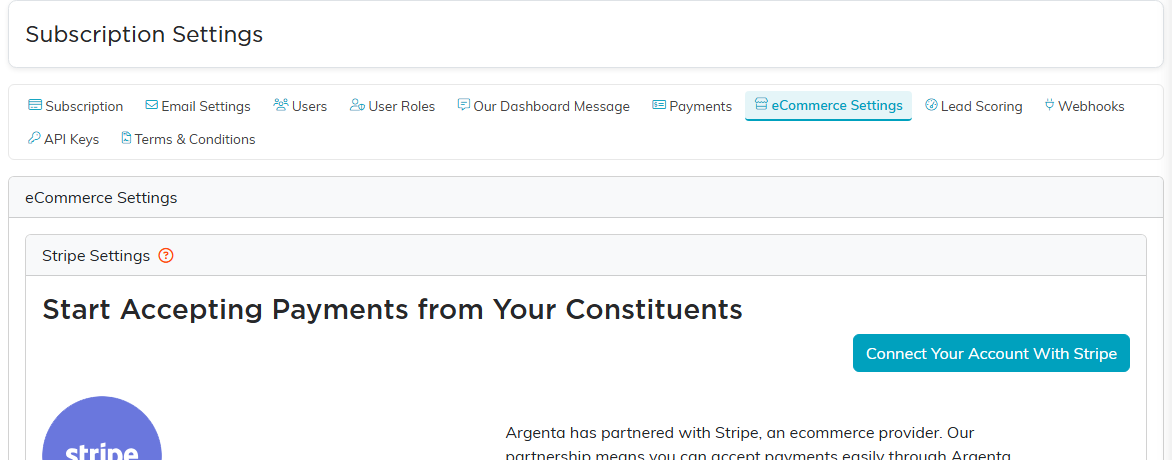
Until Stripe is connected you cannot take a payment through any of your public forms.
Lead Scoring
Ranks every lead from 0 to 100 on four ingredients: how well it fits your ideal profile (Fit), how it arrived (Intent), how much real activity it has (Engagement), and how much momentum it carries (Urgency). Scores refresh nightly and after every lead save.
Turn it on with Enable lead scoring for your team, then tune it. Dimension Weights decides how much each of the four counts, and they must add up to 100. Score Bands sets where Hot, Warm, and Nurture begin, plus a minimum Fit for Hot so a busy but poor-fit lead does not page your team. Click Save Settings, and use Recalculate All Scores Now if you want your changes applied to existing leads immediately instead of waiting for tonight.
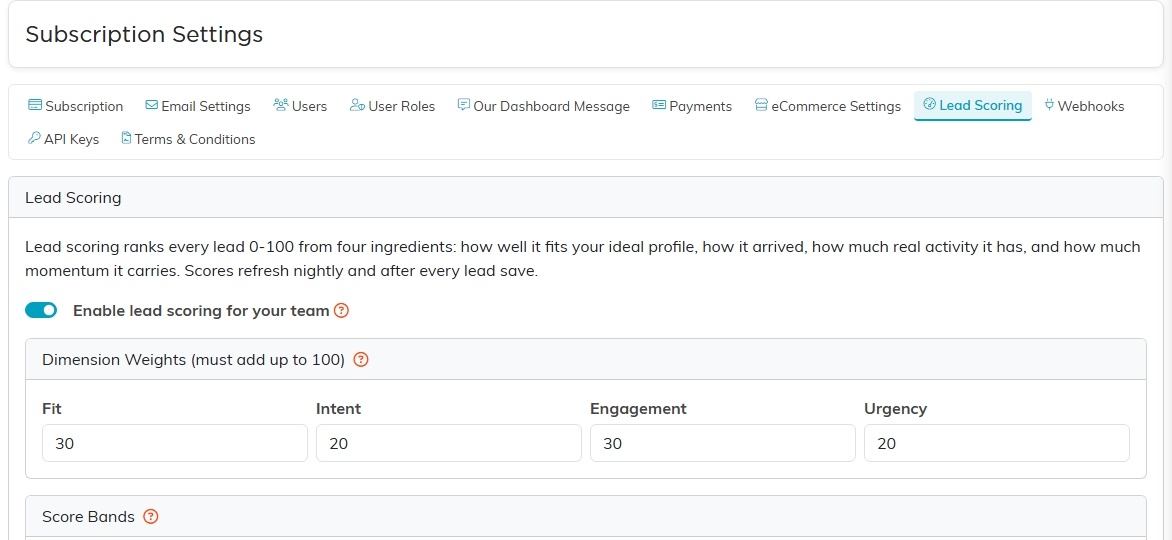
The four weights have to add up to 100, so raising one means lowering another.
Webhooks
Webhooks let your other software react the moment something changes in Argenta. Click Add Endpoint, give us a web address on your side, and pick which events it should receive. One endpoint can subscribe to as many events as you like. Each message we send carries an X-Argenta-Signature header, which your endpoint verifies with its signing secret to confirm the message genuinely came from us.
API Keys
API keys let your other tools talk to Argenta directly, for example creating and updating constituents from an automation platform or your own system. Click Add API Key, copy the key (you only get to see it once), and paste it into the connecting tool as a Bearer token. A key only ever reaches your own organization's data, every change it makes appears in your activity log, and you can revoke it here at any time.
Terms & Conditions
Your subscription terms of service, kept here so you can read them without hunting for an old email. It covers acceptable use, security and passwords, support, cancellation, and the usage terms for AVA, the Argenta Virtual Assistant. This page is for reading, there is nothing to fill in.
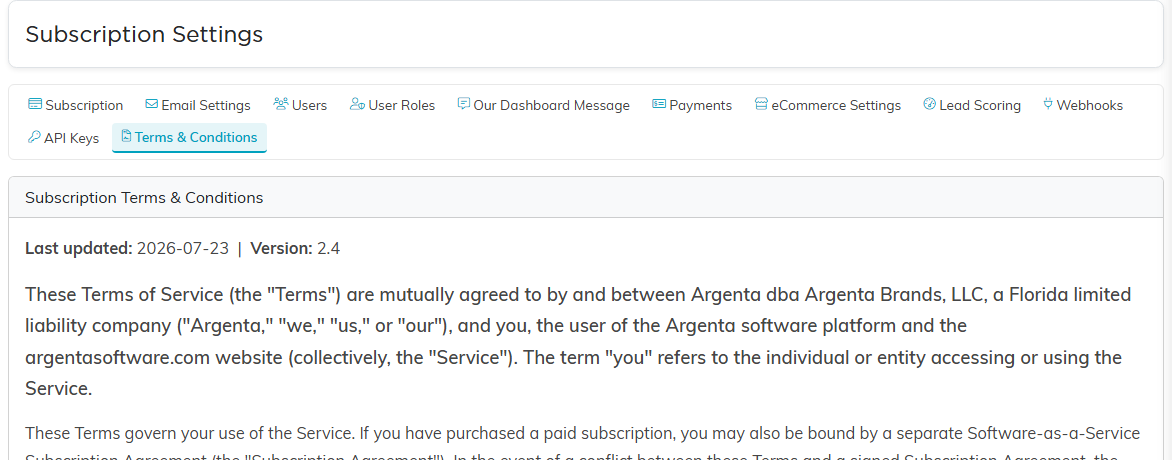
The version and date at the top tell you which terms you are actually looking at.
Saving your work
Each page saves itself. Look for Save All Changes at the bottom (or Save Settings on Lead Scoring), and remember that clicking another icon in the top row saves the current page first. If something required is missing, Argenta tells you before it saves rather than losing the rest of your edits.
