Knowledge Base Article
Add A Mission Trip Refund
Mission Trip Refunds are added, processed, and applied by enrollment, so you start from the enrollment you're refunding.
Start the refund
- From the left menu, go to Mission Trips > Enrollments.
- Open the enrollment you want to refund with its green open icon.
- Choose the Payments & Refunds tab.
- In the Enrollment Refunds section, click Add A New Refund.
In the pop-up, fill in the Contact Who Was Refunded, the Refund Date, and the Amount Refunded (all required), then click Add Refund & Enter Details to open the full refund.
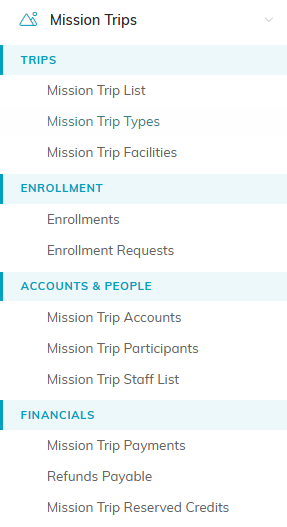
Enrollments sits under Enrollment in the left menu.
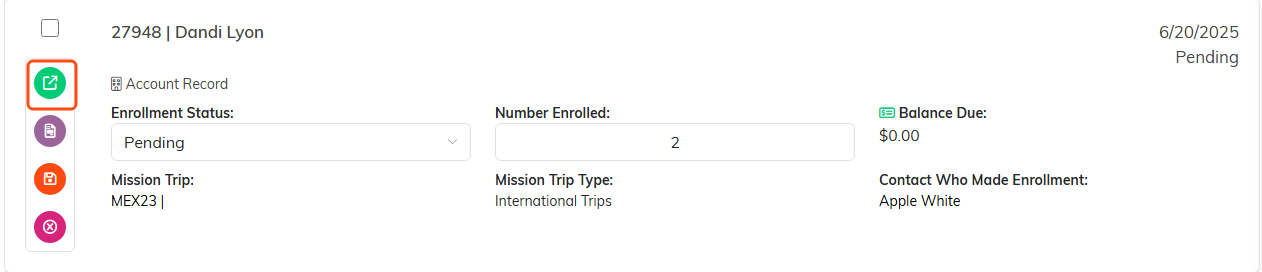
The green icon opens the enrollment.

Payments and Refunds is the fourth tab in the enrollment workspace.
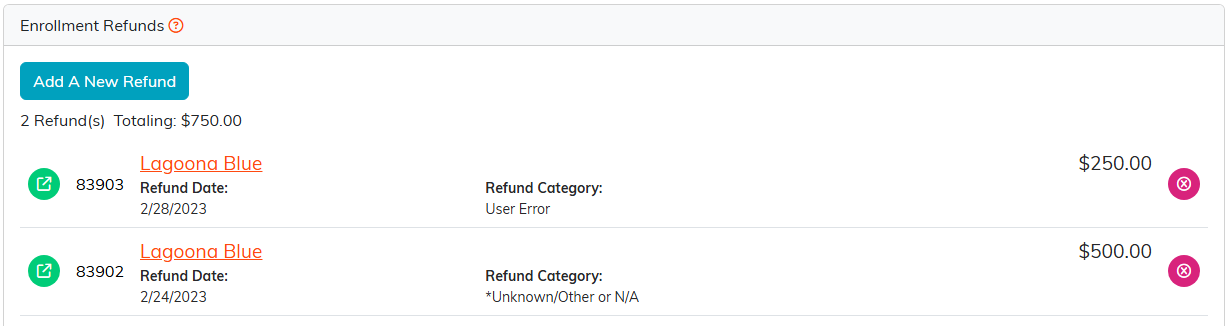
Add A New Refund sits at the top of the Enrollment Refunds section.
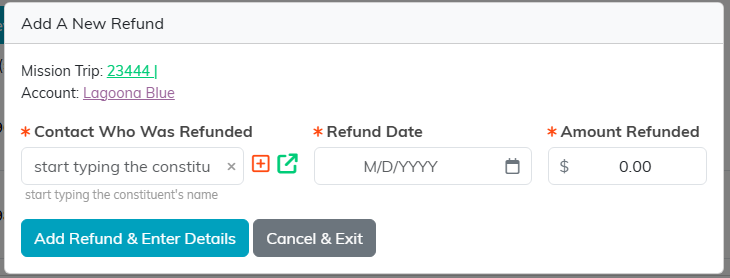
The pop-up asks for three things before it opens the full refund.
Enter the refund details
On the Refund Details page you can fill in:
- Refund Date and Constituent Receiving Refund (both required) - carried over from the previous step; change them here if you need to.
- Refund Amount (required).
- Refund Method - how you sent the money back, such as cash or check.
- Check/Reference Number, Refund Category, and a Refund Description/Reason.
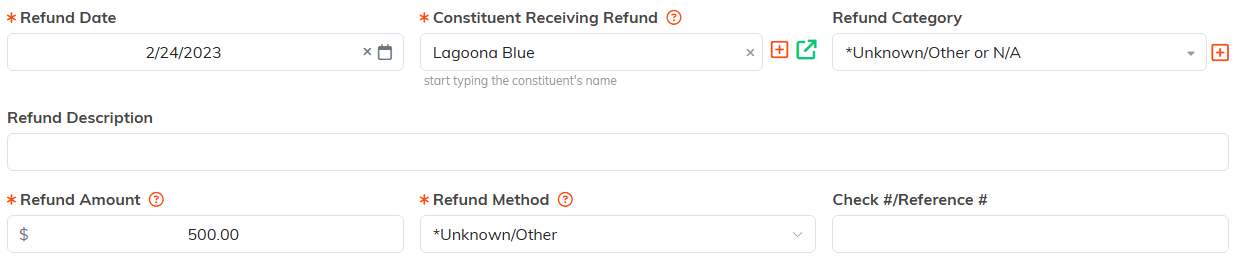
The refund fields on the Refund Details page.
If you posted the original payment to the General Journal, turn on Add This Transaction To The General Journal and choose the same Fund, Deposit account, and Chart of Accounts account you used for the payment, so the reversal lines up.
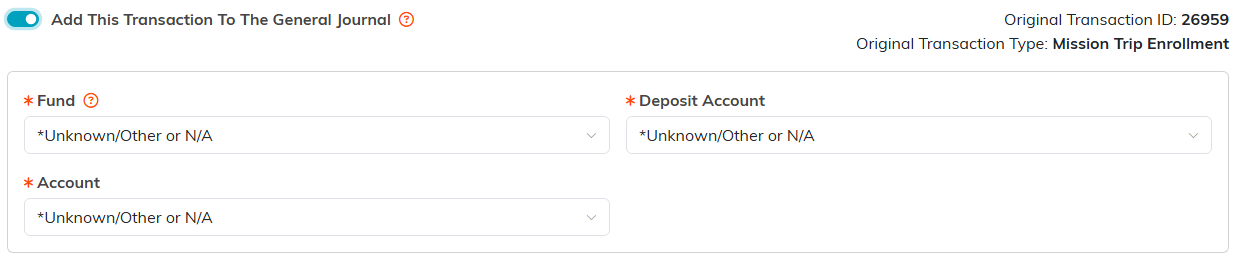
Turning the general journal switch on reveals the three accounting pickers.
Click Save All Changes or Save All & Exit Record. You can also add files and notes to the refund from its Files and Notes tabs.

Save when you are done.
