Knowledge Base Article
Add Policies and Procedures
Policies & Procedures is where the documents that set out how your organization works are kept, so staff can find the current version instead of hunting through email.
Click the building icon with your organization's name in the top-right corner to open the team slide-out menu, then choose Our Policies & Procedures.
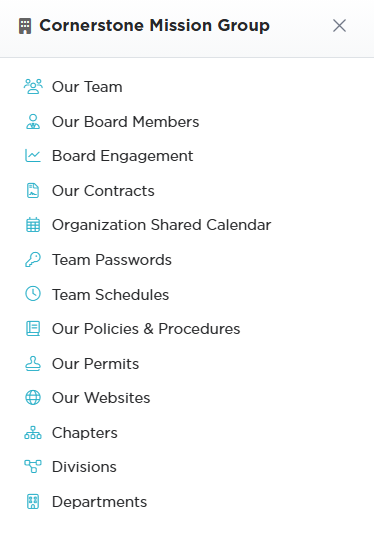
The building icon in the top-right corner opens this slide-out.
Adding a Policy
- Click Add A New Policy. Argenta creates the record and opens the Policy Workspace on Policy/Procedure Details.
- Choose a Category (required). If the one you need is not there, add it with the orange plus icon beside the field.
- Enter the Policy/Procedure Title (required).
- Add a Description summarising what the policy covers.
- Set Chapter, Division, or Department only if the policy applies to part of the organization. Leave them at the default when it applies to everyone.
- Save.
Argenta will not save without both the category and the title, and it tells you which one is missing.

Add A New Policy opens the workspace on Policy/Procedure Details.
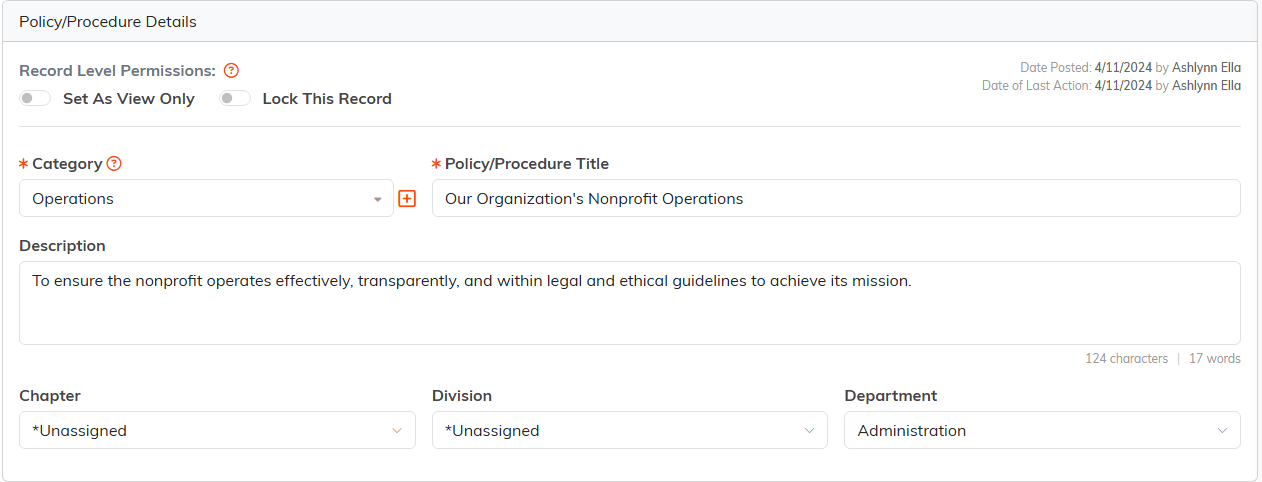
Category and Policy/Procedure Title both carry the red asterisk.
Adding the Policy Itself
The details page is only the header. The document goes on one of two pages in the workspace:
- Policy & Procedure (Text) - write or paste the policy straight into Argenta. Best default, because the text is searchable and there is one current version
- Policy & Procedure (File(s)) - attach a document, for a signed or heavily formatted policy kept elsewhere
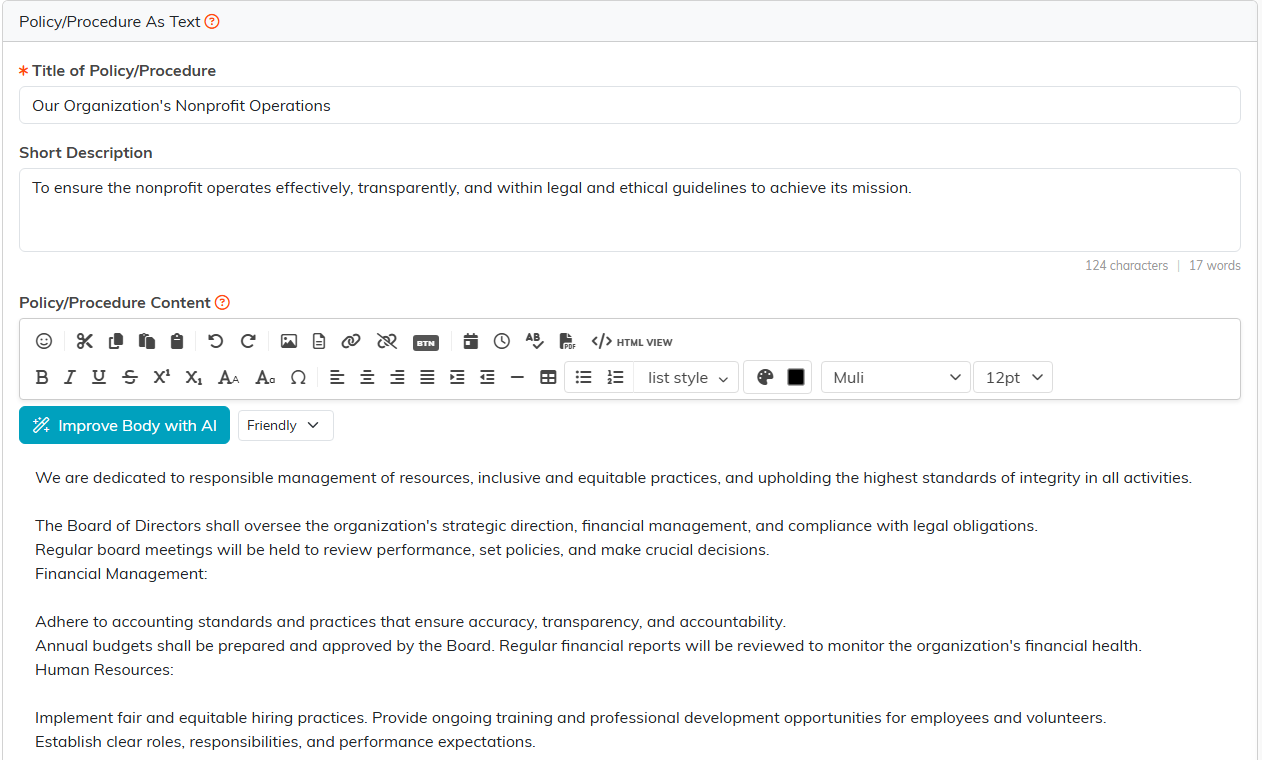
Written into Argenta, the policy is searchable and there is only ever one current version.
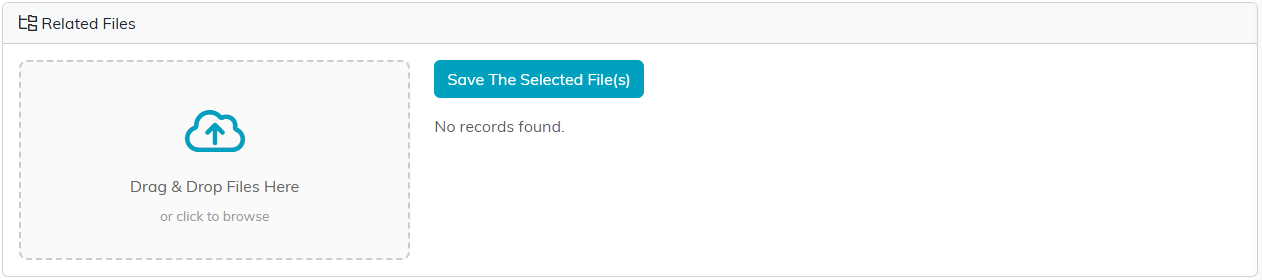
Attach the document here instead when the policy is signed or kept elsewhere.
Record Level Permissions
Two switches at the top of the details page cover the record. Set As View Only lets others read it without editing, and Lock This Record restricts access to it. Finer control is on the Record Permissions page.

Both switches sit at the top of the details page.
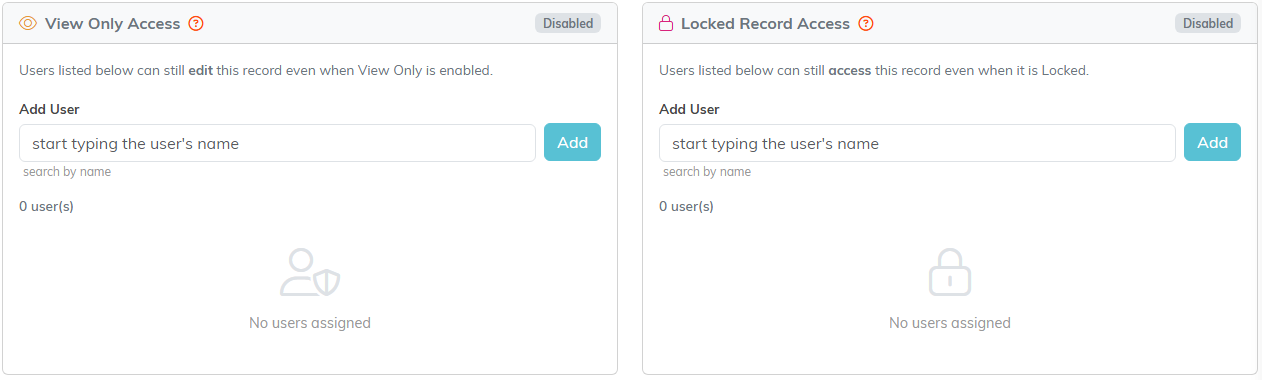
Record Permissions is the finer control, person by person.
Seeing Who Has Read It
The View Log page lists each person's name and the date and time they opened the policy, with a count at the top. A view is logged when someone opens it with the View icon on the policy list.
Worth being precise: this shows who opened the policy, not who agreed to it. There is no acknowledgment or signature step, so if you need a signed acknowledgment, collect it separately and attach it under Policy & Procedure (File(s)).

The orange View icon is what records a view.

The log gives you a name, a date and a time, and a count at the top.
The Policy Workspace
- Policy & Procedure Details - category, title, description
- Policy & Procedure (Text) and Policy & Procedure (File(s)) - the policy itself
- Policy Notes - internal notes
- View Log - who has opened it
- Record Permissions - who can view or edit

Every page of the policy is on this bar.
Search the list by ID or policy name, and export it to CSV.

Search by ID or policy name, or send the list out to CSV.
