Knowledge Base Article
How to Track Inventory Changes
Stock levels live in Product Inventory, separately from the product catalog. Inventory arrives two ways: you fulfill a vendor order, which adds the goods for you, or you enter it yourself. Here is how to see what you have, change it, and look back at what changed.
See what you have
Go to Products & Inventory > Product Inventory. Only products with the Track In Inventory switch turned on appear here, and an item drops off the list once its quantity on hand reaches zero. So a product missing from this page is either not set to be tracked or is simply out of stock. Use Export to CSV if you want the whole list in a spreadsheet for a stock count.

The strip at the top totals what you are holding.
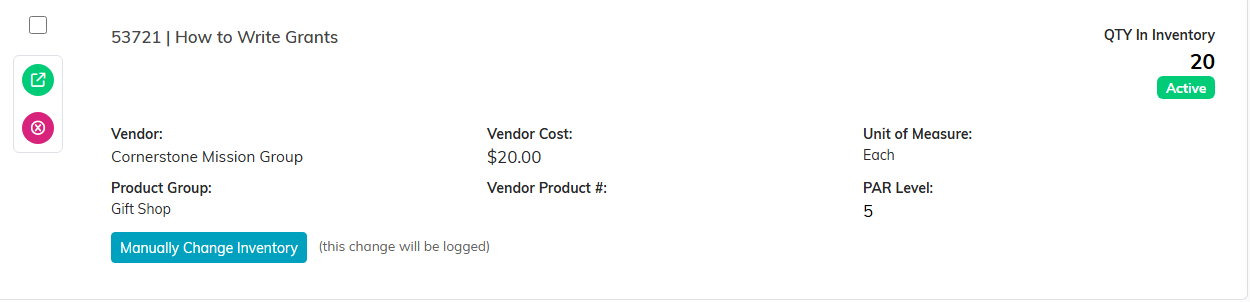
Each row carries its quantity on hand and its par level.
Change a quantity
You do not edit a quantity field. Open the inventory record and you land on Change Product Inventory Manually, which shows the product, its unit of measure, and the Current QTY On Hand. From there:
- Add to Inventory to increase the count, for a delivery or a recount that came in high.
- Remove from Inventory to decrease it, for breakage, loss, or a recount that came in low.
- Cancel & Exit to leave without changing anything.
Working in one direction at a time is deliberate. Every movement is recorded rather than overwritten, so you keep a real history instead of a number that silently changed.
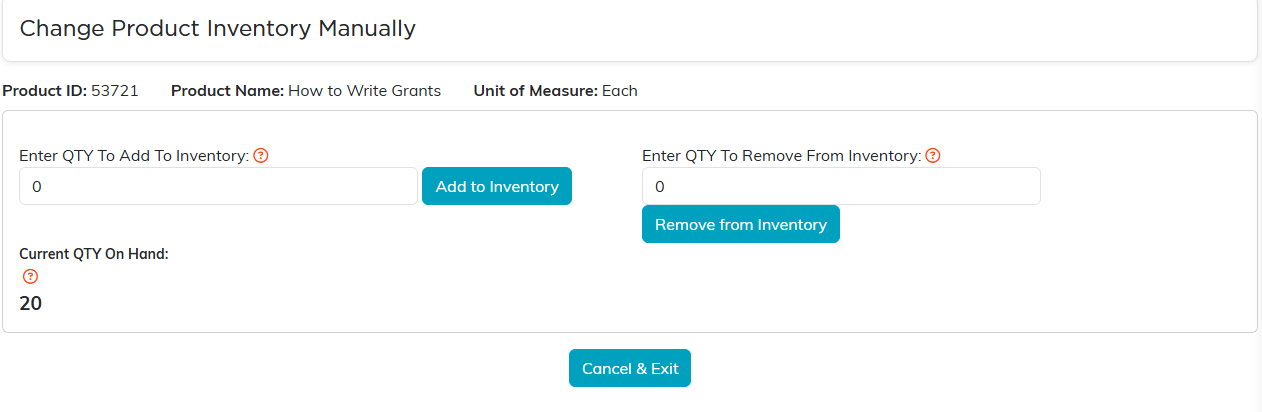
One direction at a time, so every movement is recorded.
Add stock for several products at once
The Add Inventory Manually button on the Product Inventory list opens the Add Inventory screen, where you can enter several products in one go and save them with Add These Items. This is the quicker route when a whole delivery arrives.

Add Inventory Manually is the quicker route for a whole delivery.
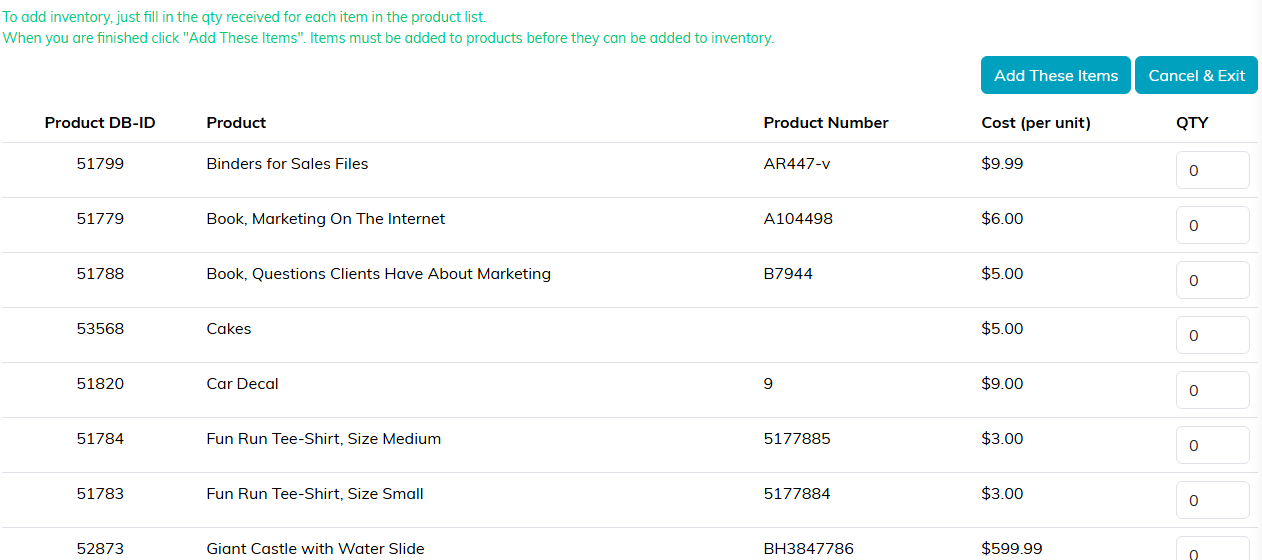
Fill in the quantities, then Add These Items.
Look back at what changed
Go to Products & Inventory > Product Inventory Change Log. Every entry shows the product, the date of the change, and Changed By, so you can see who did what. The newest changes are listed first.
- Search by Product ID or name to follow one item's history.
- Click the Product ID to open that product's record in a new tab.
- Export to CSV for a full audit trail.
The log is a record, not a workspace, so nothing here can be edited after the fact.
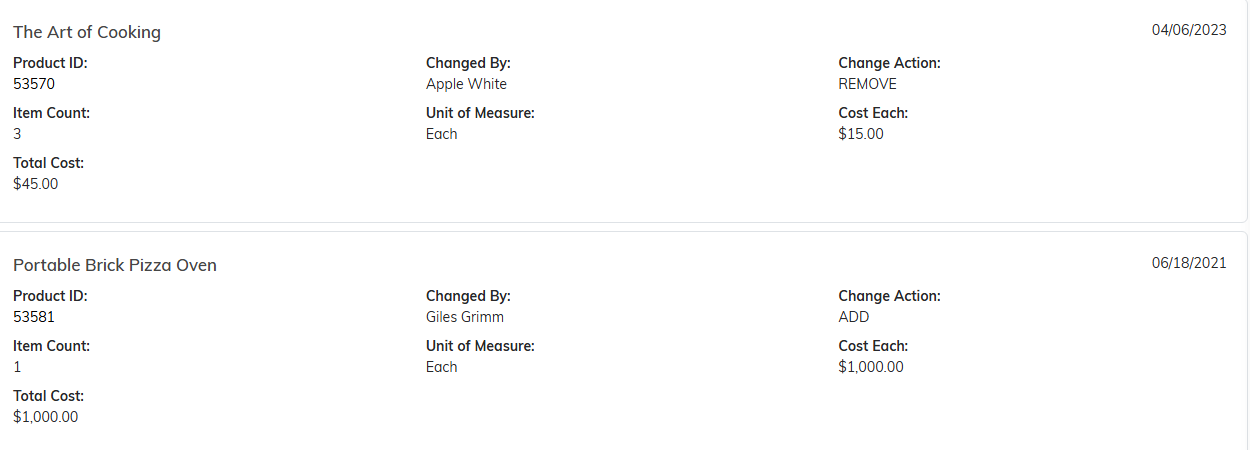
A record, not a workspace. Nothing here can be edited after the fact.
Keeping stock at the right level
Set a Par Level on each product record. That is the quantity you want to keep on hand, and comparing it against what the inventory list shows tells you what needs reordering. When it is time to restock, raise a Product Order with that item's vendor. When the delivery lands, fulfilling that order adds the goods to inventory for you, so there is no need to key them in again.

Par Level lives on the product record, not on the inventory list.
Related: How to Process Product Orders.
