Knowledge Base Article
How to Add a New Donation to a Constituent
Donations are recorded through the fiscal donations area. Here is the step-by-step for adding one to a constituent.
Add the donation
- Choose Fundraising > Donations and click Add New. A short form opens asking for the Donor and the Donation Date. Fill those in and click Add & Enter Details, and Argenta creates the donation and opens the Fiscal Donation Workspace. Cancel & Exit leaves nothing behind.
- In the Donor field, start typing the constituent's name and select them. If they are not a donor yet, selecting them here adds them as one; you can also set them up first from Fundraising > Donors.
- Enter the details: Donation Date, Donation Amount, Payment Method, Payment Point of Entry, Check # / Reference #, Donation Type, Donation Category, and any Specifically Designated Purpose.
- Set the optional flags as needed: Solicited By (Team Member), Keep Donor Anonymous, Is Tribute, Receipt Was Given, and Thank You Was Sent.
- Click Save All & Continue to save and stay on the record, or Save All & Exit to save and return to the list.
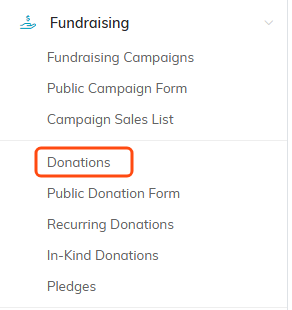
Step 1: Fundraising, then Donations.

Step 1: Add New opens the Fiscal Donation Workspace.

Step 2: start typing in the Donor field and select the constituent.

Step 3: how the gift arrived.

Step 3: how you classify the gift.

Step 4: the optional flags.

Step 5: save and stay, or save and go back to the list.

The donation is created when you click Add & Enter Details, not before.
Add a gift straight from the donor
You can also start from the donor: open their record, go to the Fiscal Donations tab in the donor workspace, and add the gift there for that specific donor.
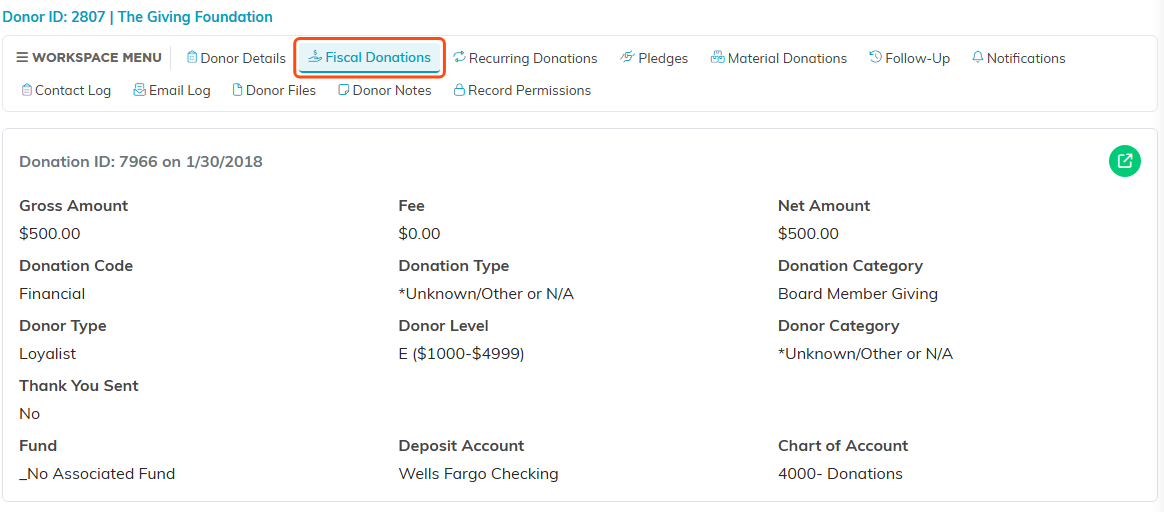
The Fiscal Donations tab inside a donor's record.
Good to know
- A constituent has to be a donor before you can record gifts for them; selecting them in the Donor field takes care of that.
- Saving a gift immediately updates the donor's lifetime total and donor level.
- If your general ledger is connected, you can post the gift to your books at the same time by turning on Add To General Journal.
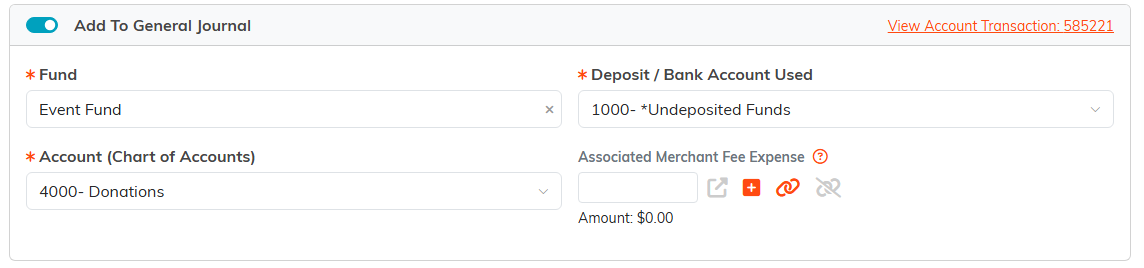
Posting the gift to your books at the same time.
For the complete field-by-field reference, see Add Fiscal Donations.
