Knowledge Base Article
How to Use Notebooks for Personal and Team Notes
Notebooks are a place to keep notes that do not belong to any one record. Meeting notes, project planning, process documentation, research, personal reminders: anything you would otherwise keep in a document somewhere your team cannot find it.
They work like digital notebooks. Each one holds as many notes as you like, plus its own checklists and files.
Find your notebooks
Choose Workflow & Productivity > Notebooks. The page opens on Team Shared Notebooks, with a switch at the top for My Personal Notebooks, which only you see. My Notebooks under your own name in the top-right menu opens the page straight on your own. Filter either one by category, by the team member who created it, or by your organizational groupings, then sort them and swap between card and list view from the same toolbar.
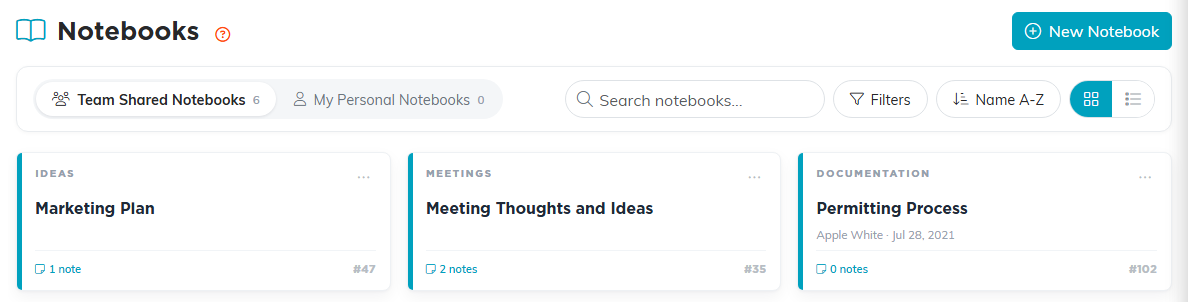
My Personal Notebooks is only yours. Team Shared Notebooks is shared.
Create a notebook
- Click New Notebook.
- On Notebook Details, enter the Notebook Name. It is required, and saving without one gives you "Notebook Name is required."
- Pick a Category if you use them, and a Notebook Color to make it easy to spot in the list.
- Click Save All Changes & Continue or Save All Changes & Exit.
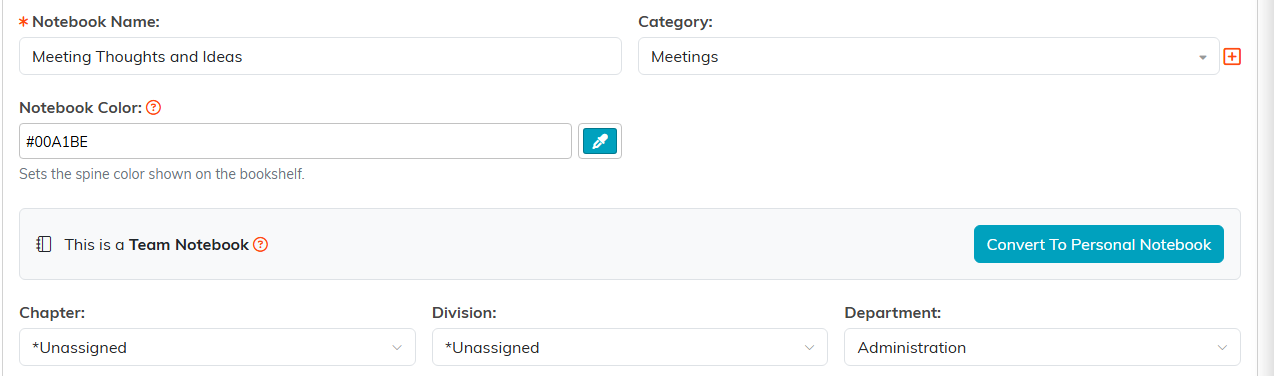
Notebook Name is the only required field.

Either save button finishes the notebook.
Add notes to it
- Open the notebook and go to Notes, the first page in the workspace.
- Click Add A New Note.
- Enter a Note Title, which is required, then write the note itself in the editor. It is a full editor, so you can format the text rather than typing everything flat.
- Set a Note Type and Note Category if you want to group your notes, and attach any files to the note itself.
- Click Save All Changes or Save All Changes & Exit.
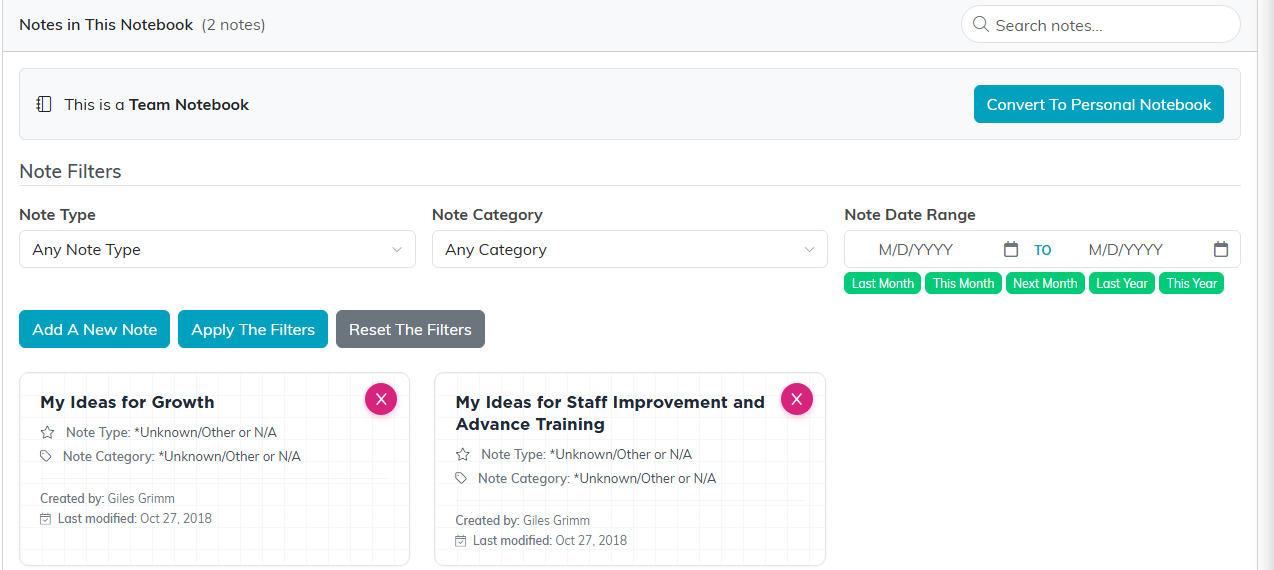
Notes is the first page in the workspace.
Back on the Notes page you can filter what you are looking at by note type, note category, or a date range, and search the notes in the notebook.
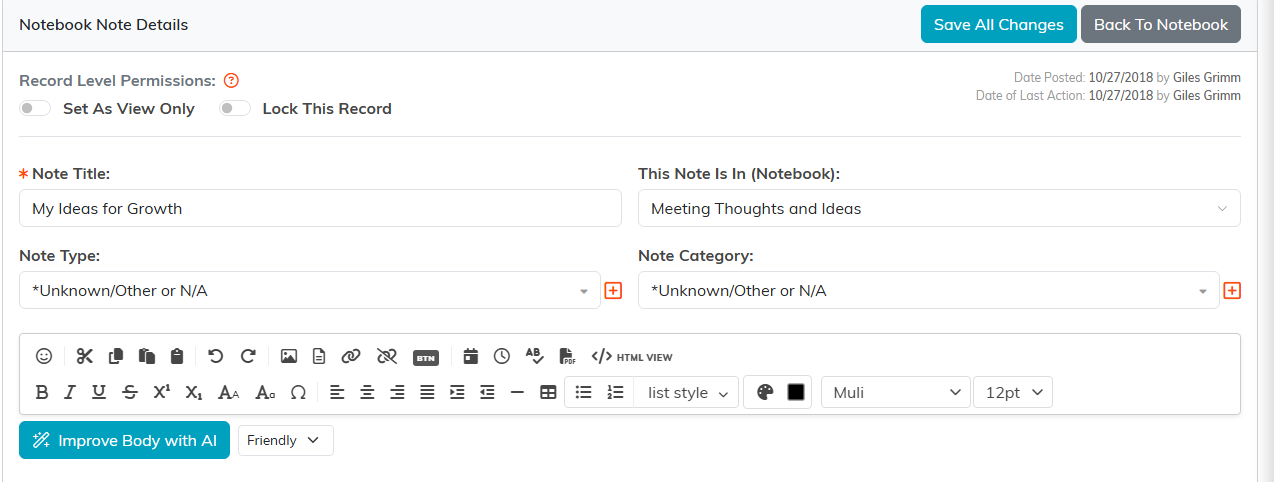
Note Title is required. The editor does the rest.
The rest of the notebook
The Notebook Workspace has five pages: Notes, Notebook Details, Checklists, Notebook Files, and Record Permissions. Checklists are handy for turning a set of meeting notes into things somebody has to do. See Add Checklists.

The five pages of the notebook workspace.
Who can see a notebook
Keeping a notebook in My Personal Notebooks rather than sharing it is the first level of privacy. Beyond that, Set As View Only lets the team read a shared notebook without changing it, and Lock This Record keeps them out entirely. In both cases you name any exceptions on Record Permissions.

Beyond keeping it personal, these two switches control access.
Notebooks or notes on a record?
- Use a notebook when the note is about a topic: a meeting, a project, a process.
- Use a note on the record when it is about one donor, event, or task, so it stays with them. See Add A Note to the Notes Section.
