Knowledge Base Article
How to Track Equipment Loans with Inventory Lending
Inventory Lending tracks equipment and supplies you hand out and expect back: laptops, projectors, tools, event gear, resource library items. Argenta records who took what, when it went out, and when it is due.
Go to Products & Inventory > Lend Out Inventory.
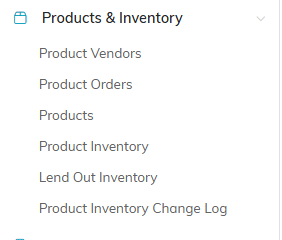
Lend Out Inventory is the fifth item under Products and Inventory.
First, Flag What Can Be Lent
Only products marked for lending show up when you build a lending list. Set that on the product record in Products & Inventory > Products before you try to lend it, otherwise the item simply will not appear and it looks like something is broken.

Product Can Be Lent Out, on the product record, is what makes an item lendable.
Lending Is by List, Not by Item
This is the part that trips people up. You do not create one record per item. You create a lending list for one borrower on one occasion, and the list holds every item they took. Someone borrowing a laptop, a projector, and a cable gets one list with three items, not three records.
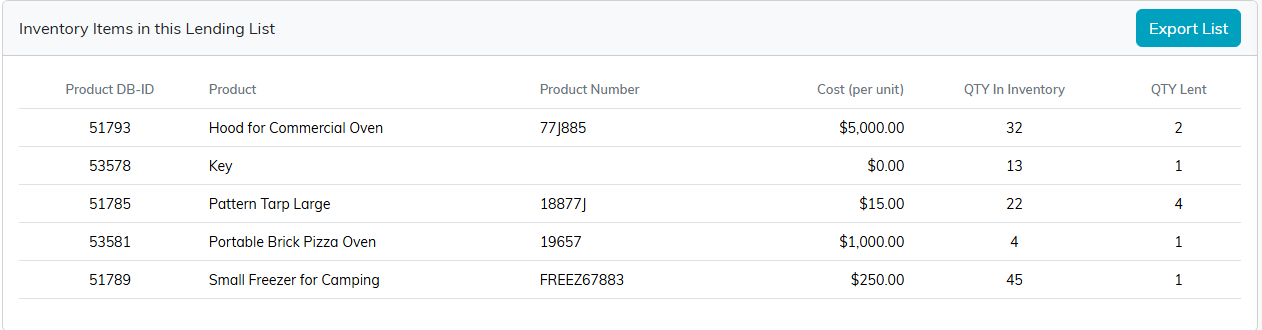
One list, five items, one borrower. Not five records.
Lending Items Out
- On the Inventory Lending Lists page, click Add New.
- The Choose Inventory Items To Add To A Lending List screen shows everything flagged for lending. Enter the quantity you are handing out beside each item.
- Click Add Designated Items To A Lending List. Argenta creates the list and opens it.
- On Inventory Lending List Details, fill in the two required fields, Date Lended Out and Lent To Constituent.
- Add the Planned Return Date, the Lent By (Team Member), and a Description.
- Click Save All Changes.

Add New is where a loan starts.
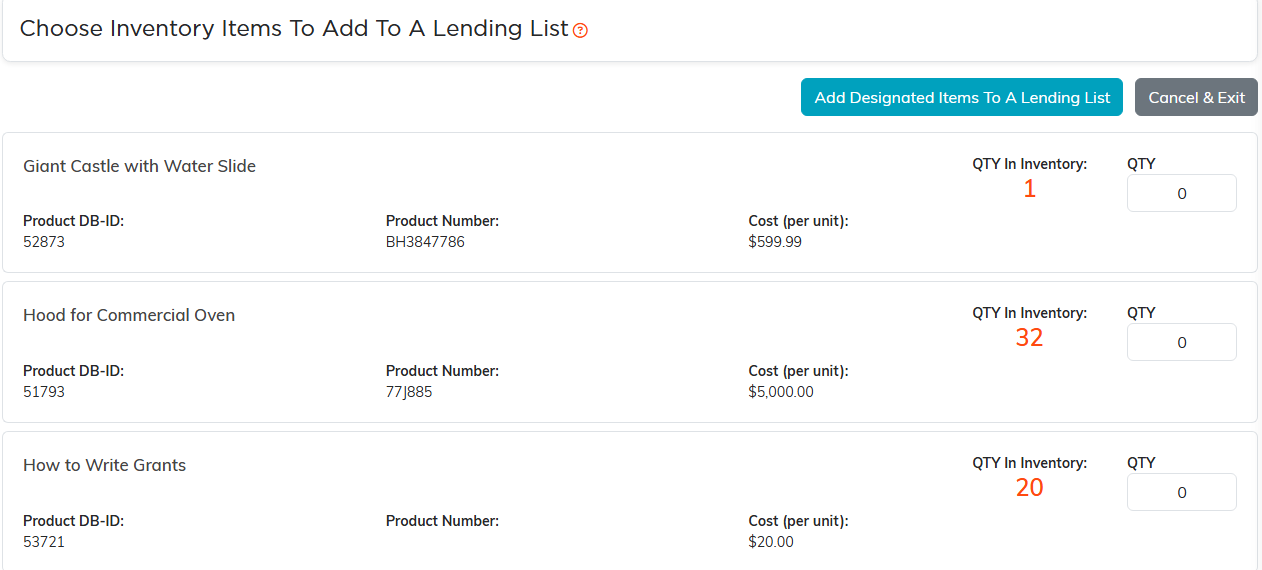
Everything flagged for lending, with the quantity you are handing out.
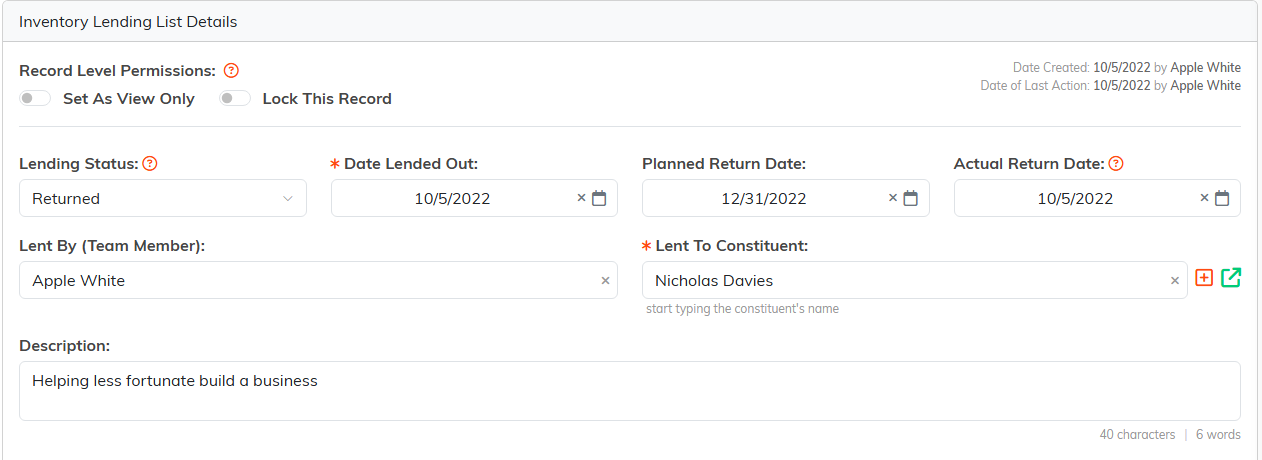
Date Lended Out and Lent To Constituent are the two required fields.
Getting Items Back
Open the list, enter the Actual Return Date, set Lending Status to Returned, and save. The status runs In Process, Lended Out, then Returned, so a list still sitting on Lended Out is one you have not got back.

Fill in the actual date, move the status to Returned, save.
Finding What Is Still Out
Filter the list by Lended Out to see everything outstanding. You can also filter by an Actual Returned Date Range, search by ID, lent-by name, lent-to name, or description, and export to CSV.
There is no automatic overdue alert, so make the Planned Return Date meaningful and check the Lended Out filter on a regular day of the week.
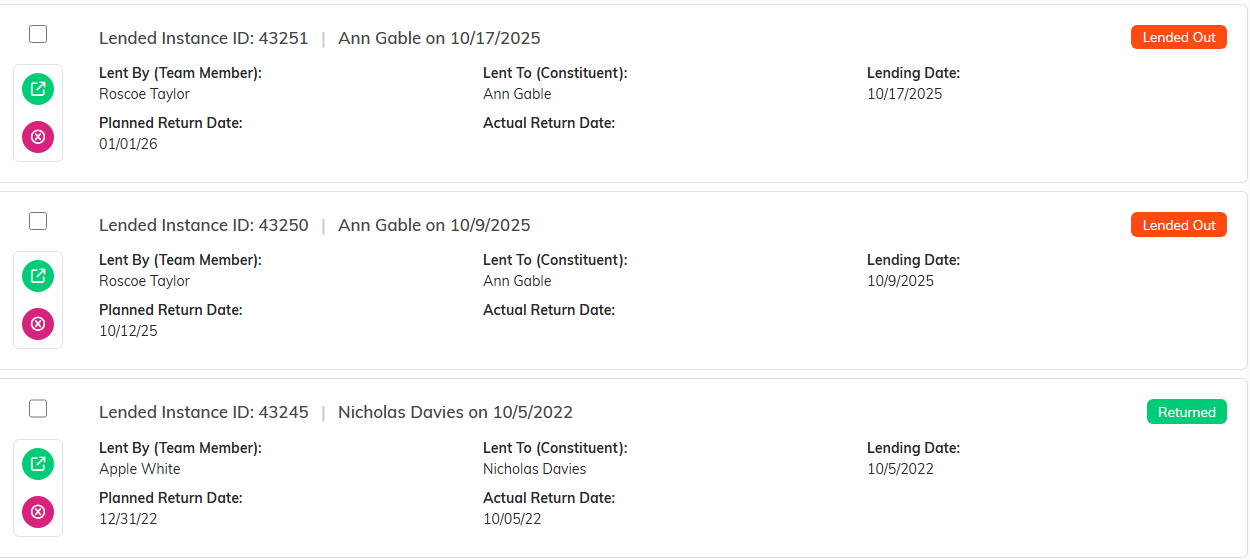
A list still sitting on Lended Out is one you have not got back.

Search by ID, lent-by name, lent-to name or description.
The Lending List Workspace
- List Details - dates, borrower, who lent it, status
- Inventory Items - what is on this list
- List Files - a signed loan agreement, photos of condition
- List Notes - internal notes
- Record Permissions - who can view or edit

Every page of the loan is on this bar.
A Practical Habit
Create the list before the items leave the building, not afterwards. Photographing condition at handover and attaching it under List Files is what settles the argument when something comes back damaged.
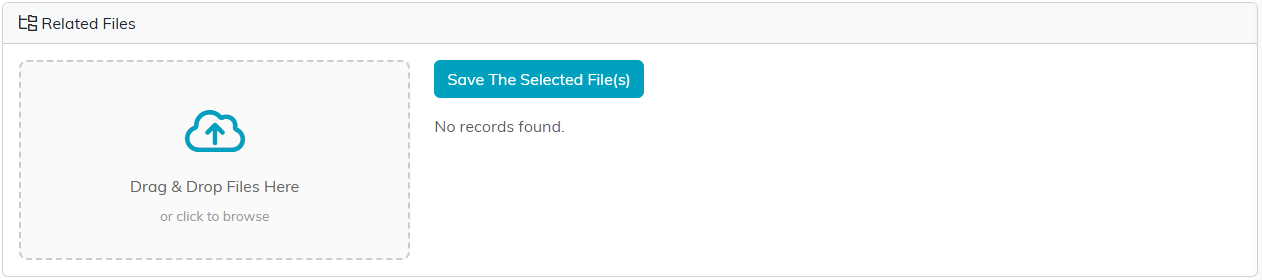
List Files is where the handover photos go.
